When I first started shooting modern crossbows several years ago, I had no idea what to expect. Like many who had never played with them, these tools confused me. I had seen them on TV, but without ever handling one, I wasn’t sure about a lot of things. How do you load one? How do you pull the string back? What’s the trigger like? Do they kick, like a rifle? Are they noisy? Are they accurate? How far away can you accurately shoot one? Do they have enough power to kill a deer?
Was I in for a surprise! Modern crossbows are fast, accurate, and plenty powerful enough to cleanly take the largest big-game animals in North America. They are also a pleasure to shoot. To get the most out of your crossbow, you need to understand the basics of how to set one up for hunting and how to shoot it. Here are 12 tips to make you a crossbow-shooting machine, using a crossbow-and-arrow set-up designed specifically for hunting big game.
1. Buy the Best You Can Afford
There’s a big difference between an el cheapo, bargain-basement crossbow and a top-of-the-line model. Sure, the bargain model costs a lot less, but it will not be built as well, be as accurate or reliable, and sooner or later it will fail you when the moment of truth arrives. You can buy crossbow packages that include everything you need to get out shooting and hunting—crossbow, a few arrows and arrow points, a scope sight, cocking device and quiver—from anywhere between about $800 to $1,500.
As in all things in life, here you get what you pay for. Spend a few more dollars and get the best you can. You’ll never be sorry.
2. Use Enough Draw Weight
The principle specification that distinguishes a hunting crossbow from a target model is draw weight. Fortunately, most states have taken the guesswork out of determining what is sufficient by establishing a regulatory minimum. While those regulations vary considerably from state to state, the overall range runs from 75 to 125 pounds of draw weight.
With little exception, any crossbow in that range should be adequate to kill a whitetail deer at moderate ranges. That said, most of the better hunting crossbows are in the 150 to 175 pounds range, with a few topping out over 200 pounds. In general, bigger is better—or in this case, faster. Keep in mind that you can go too heavy, too, as at least one state—Ohio—has a maximum allowable draw weight of 200 pounds.
3. Shoot a Fast Enough Arrow
Both crossbow and compound bow makers continually strive to push the speed envelope. You make a crossbow faster by increasing the draw weight. That’s why the above point is so important. How fast is fast enough? I like my crossbows to shoot a hunting-weight arrow with an initial velocity of at least 300 feet per second (fps.) That will both give your arrow enough kinetic energy (K.E.) to cleanly take any big-game animal, and reduce arrow trajectory at longer ranges, which makes accurate shooting easier. Some crossbows are beginning to push the 400 fps envelope, so look for improvements in this number across the board in coming years.
4. Use a Scope Sight
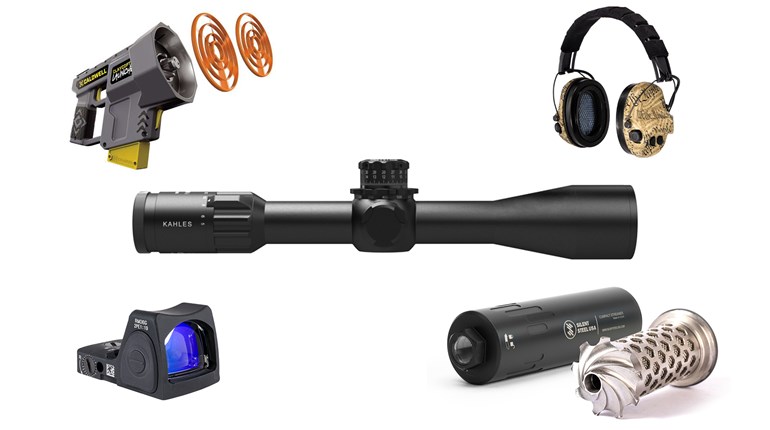
Though some crossbows still come with open sights, you will be much better served using some sort of scope sight. These optical sighting devices make accurate shooting much easier. For magnification, you can choose from just about anything between zero power and 5X. Inside the scope is the reticle, defined as some configuration of horizontal and vertical crosshairs—though for crossbows, it also includes any object projected or suspended across the field of view. Choices begin with a simple, single red dot or crosshair. With them you sight in for a fixed distance, typically 20 yards, then have to compensate for longer shots by holding higher. Multi-reticle scopes are the most popular, particularly those with three to four dots or horizontal crosshairs. The top one is sighted in for 20 yards and the next two are fixed at intervals that will be dead-on at 30, 40 and 50 yards, respectively, on most bows.
5. Use Quality Arrows
Unless your arrows (or bolts) fly like laser beams, you’ll never be able to precisely hit your target. Cheap arrows manufactured to sloppy tolerances will fly like a knuckleball. That’s why you should use only the very best arrows, designed specifically for crossbow shooting, you can afford. Many crossbow companies sell arrows, but they’re made for them by arrow manufacturers like Gold Tip, Carbon Express and Easton. Make sure they have a nock designed for crossbows, not compound bows, are cut to the proper length and have the proper fletches. Both carbon and aluminum arrows work well, but by far the most rugged and high-tech are made from carbon.
6. Use Quality Broadheads
The business end of a hunting arrow is the broadhead. There are more makes, models and styles of hunting broadheads available than you can shake a stick at. Here again, the most expensive are generally those built to the tightest tolerances, with the sharpest blades, that fly straight and true, and have a long track record of success. Both replaceable-blade and mechanical broadhead designs will work well for crossbow shooters, with the mechanical design becoming more and more popular each year. The most common weight for a hunting broadhead is 100 grains, with 125 grains a distant second.
7. Take a Rest
A crossbow is somewhat heavy and clunky, making it almost impossible to accurately shoot without using some sort of rest. That can be everything from using standard rifle shooting positions like kneeling and sitting, to using a set of shooting sticks or monopod, to using a shooting rail in a tree stand or shooting house. I never, ever turn an arrow loose from my crossbows without taking a rest of some kind.
When using a rest, try padding the crossbow’s forearm with something soft—your hand, a rolled-up jacket, a day pack, something—which will help absorb recoil and make precise sighting easier than if you shoot off a hard surface.
8. Learn Arrow Trajectory
All arrows fired from a crossbow travel downrange in a large parabolic arc. Your crosshairs are set to hit dead-on at specific distances, but often you’ll be shooting at a deer or other animal between these distances. When you practice you’ll soon learn where you have to place your crosshairs relative to the animal to hit the “tweener” ranges. To learn how to chart your arrow trajectory, click here.
9. Use a Rangefinder
With the click of a button, a modern laser rangefinder can instantaneously give you the exact distance from you to the target—a critical bit of information in accurate shooting when you are lobbing an arrow at the target. The best laser rangefinders are as reliable as the sunrise. My Nikon Archer’s Choice model even tells me exactly where to aim when shooting at steep uphill and downhill angles. Costing somewhere between $250 and $400, they’re a lifetime investment worth every penny.
10. Get a ‘Feel’ For the Trigger
Every crossbow has a trigger unique unto itself. You need to shoot your crossbow enough so that you know exactly when the trigger will send the arrow on its way. Shoot both with and without gloves so you know how both feel (it will be different).
11. Practice in the Field
The old axiom, “practice makes perfect,” certainly applies to shooting your crossbow. Once you get it set up and sighted in, spend some time shooting off a bench rest. Use these sessions to precisely set your sights and get a feel for the trigger. However, you then need to move away from the bench and practice taking shots that simulate actual hunting conditions. Shoot from the kneeling and sitting positions. Climb into your tree stand or ground blind and take shots at the same angles and distances you anticipate you’ll be taking during hunting season. Learn to use your shooting sticks or monopod quickly, quietly and efficiently.
12. Maintain String, Rail, Trigger
A crossbow is a machine, which means it will need regular maintenance if it is to keep on ticking like a fine Swiss watch. That means you should always check the string and cables for wear. This is very important on a crossbow because you have direct string-to-rail contact, which creates friction and abrasion, with every shot. At the first sign of fraying or abnormal wear, replace them. You can reduce the need for replacement with regular maintenance. Keep the string, cables and center serving clean and well maintained after each practice session, and especially after each trip to the field. Make sure you lubricate the center serving, and the rails should also be regularly lubed per the manufacturer’s instructions.
Don’t Do This!
There are some real mistakes that can cost you accuracy and/or lead to injury if you are not careful when shooting a crossbow. Here are the three most common:
1. Watch Fingers & Thumb
Many shooters used to shooting rifles have a tendency to stick the fingers of the hand that holds the rifle’s forearm straight up in the air when they cradle the rifle. If you do this with a crossbow, you risk placing your digits in the path of a bowstring that is rocketing down the rail and will slice the fingers and/or thumb to the bone. Never, ever do this!
2. Don’t Shoot Off-Hand
The construction of a crossbow puts a lot of weight in its front end, making it very difficult to balance when trying to shoot from the off-hand position. Even the very best rifle shooters only shoot off-hand as a last resort. You’ll be much better off learning to shoot quickly from the kneeling and sitting positions, and when using shooting sticks or a rail for a rock-solid rest.
3. Shoot Outside Your Own MESR
Many years ago, I coined a phrase for bowhunters, Maximum Effective Shooting Range, or MESR. Your MESR is the maximum distance you can consistently place a hunting arrow into the bullseye. For some crossbow hunters that’s 20 yards; for others it is 60 yards. For most of us, it is somewhere in between.
You will learn your own MESR as you practice. At some point, you just won’t be plunking that arrow into the bullseye on a regular basis. When that happens, it’s time to back off a few yards until you are once again placing at least 90 percent of your shots into the center of the target. At the same time, you should try and push the envelope and stretch your MESR in small (say, 5-yard) increments. But once I get into the field and I know my own MESR is, say, 40 yards, I will not take a shot at a game animal any further than that.


