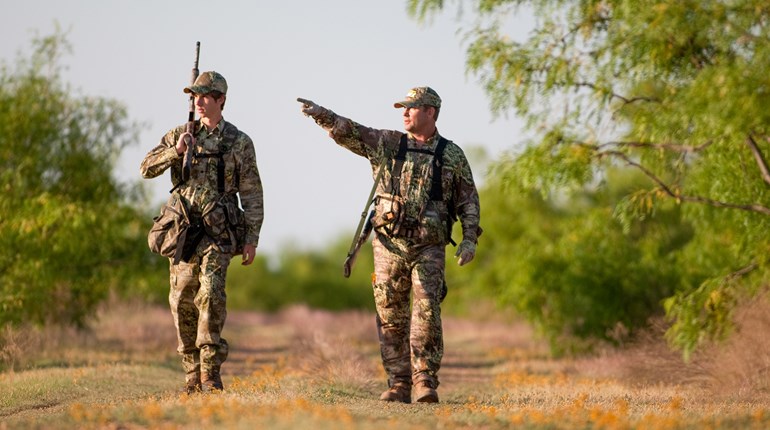
Patterning bucks has become much easier with the use of trail cameras. During the period BC (Before Cameras) I tried, like most deer hunters, to pattern bucks using only sign. Do you know how hard it is to tell one buck from another based on his tracks, rubs and scrapes? Nearly impossible. Unless the buck had some kind of non-typical point near his base that left a signature scar on rub trees—or a missing toe—an awful lot of guesswork went into the process.
Today, however, the game has completely changed. Now I can put out cameras and tell not only which bucks are living in which areas, but when they are moving. With a bit of thinking, I can even determine where they are likely bedding and feeding. Within a few days (sometimes weeks) I even know which bucks move during the day and which ones are primarily nocturnal. It all adds up to a nice bit of valuable information that easily produces successful stand locations, especially for bowhunters who must get in tight.
3 Aspects to Pattern a Buck
To pattern a buck, you simply need to know where the deer is and when he is there. You can then decide whether the buck is killable and where you can most likely kill him. It really is that simple, provided the buck remains unmolested. Just learn the following three aspects of patterning by relying on trail-cams.
1) Learn Where Bucks Are
There’s a big difference between the summer range of a buck and his fall range. It’s fun to watch and photograph summer bucks because they are often very visible, but patterning really starts after the bucks shed their velvet and break up their bachelor groups. In most parts of America, that takes place in early September. Accordingly, my patterning efforts begin in mid-September. The process starts with finding the fall ranges of the bucks I am hunting.
Trail-cameras are the key to figuring out where the increasingly secretive bucks are spending their time post-velvet. Before cams (BC), I could literally write a book about this subject and you wouldn’t be much farther ahead after reading it than you were before. But with the cameras you can come up with a systematic approach that opens up bucks’ secret worlds.
There are a few tricks to setting up the cameras to get as much information as possible. I don’t like to run my cameras near bedding areas, so I favor feeding areas. When monitoring a feeding area, there are two options. First, you can place bait in front of the camera, where legal, to concentrate the deer that use that area to get their photos quickly. This is what I do.
However, I don’t think it’s a good idea to bait deer to a location where they naturally wouldn’t go because that would distort your patterning efforts. That is why I like to center around natural feeding areas.
The baited camera will tell you which areas have good bucks in them. Within a week to 10 days you can stop using the bait and move the cameras slightly to fine-tune your patterning efforts. (This is your starting point in states where bait is not legal.) Here is how it works:
Many of today’s better cameras have a time-lapse or field-scan mode. This mode causes the camera to take a photo at pre-programmed intervals (such as every minute) during a period of time that you set (like the last 90 minutes of daylight each day). A single camera in field-scan mode can cover a normal-sized feeding area and you can leave it running for the entire season, if you like, pulling the cards every few days.
2) Find Killable Bucks
An important part of patterning is determining which bucks are killable. After several frustrating years of hunting nocturnal bucks, this has become a key part of my fall camera strategy. Now I focus most of my hunting attention on the bucks that show themselves during daylight reasonably often in a certain area. You are really learning enough to hunt the bucks you are after as individuals. Bucks have personalities. Some are homebodies while others are roamers. Some move during the daylight more than others do. My goal is to identify the bucks that are homebodies and move frequently during daylight hours. These are the easiest to kill.
There may not be many visible homebody bucks in your hunting area, but you don’t need many of them. If you hunt them carefully, you will encounter almost all of them during the season. I love it when a nice buck starts showing up during daylight on my camera. He is one that I can probably kill.
What if you don’t have any daylight-active bucks? I know you have to get out and hunt, but personally, I stay away from my best areas and my biggest bucks until they show some daylight activity or until the first week of November (when rutting activity begins)—whichever comes first. Even if they have been nocturnal for the entire month of October, I’ll start to hunt them carefully when the rut approaches.However, given the choice between a buck with medium-sized antlers that is active in daylight or one with bigger antlers that is not—I will generally hunt the smaller, more active buck. I have learned the hard way just how frustrating it is to hunt nocturnal bucks.
3) Where to Hang the Stand
Now you have to figure out where to put your stand. That starts with answering the question: Where is the buck most vulnerable? Once again, the cameras (and some judgment) will give you the answer. Whenever I look at trail-cam photos of bucks I want to shoot, I focus not only on where and when, but also on which direction the buck is approaching from and which direction he goes when he leaves. You can tell where he’s coming from easily by looking at the first photo of the buck. Sometimes it can be tough to tell where he is going when he suddenly disappears from the photos.
Directional information is really important because it allows you to make some informed guesses about where the buck is bedding. And if the camera is located in a transition area, it can also tell you something about where he is feeding. The most important photo I get of a buck is the first one for any given evening. That one photo tells volumes. Working backward from that spot, I can guess where the buck is most likely bedding and then I can come up with some funnels in that area where I can hang my stand.
I don’t hunt the feeding area directly until the late season because getting away from the area at the end of legal shooting time without alerting the bucks is difficult. I want to keep the buck I am after moving as naturally in that area as possible for as long as possible. I use the information I get from the cameras to point me in the direction of the buck’s likely bedding area. Usually, there is a transition area (maybe even a staging area) in that direction where I can pick him off.
Once you have a killable buck or two picked out and an idea where he is bedding, select the best funnels (bottlenecks) near those likely bedding areas (without going into them) and put in your time. The stands you select have to be ones you can get to and from without alerting deer. Again, you have to keep all the deer in the area moving naturally for as long as possible.
You should see the buck soon. If you don’t get a shot, you should at least learn enough to know if you need to tweak your stand location. This is a realistic successful outcome when patterning a buck. It is not realistic to think you will pin him down any better than this. Being able to narrow down the property to the best transition area for seeing a certain buck during daylight hours is all we can hope for. Getting a shot with your bow takes some luck as well.
Sure you can sometimes peg bucks by focusing on hunting them at their feeding areas, but that usually doesn’t work except in late summer and occasionally during the late season if the weather is particularly cold and you have a good food source.
There is no doubt that patterning works. I’ve killed several bucks over the past few seasons that I was specifically hunting. The trail cams gave me a great starting point and some insight into the buck’s personality and behavior. Then my knowledge of the area and a heavy dose of time on stand eventually paid off. If I can do it, you can too.