An expensive riflescope is useless if it’s mounted poorly on a rifle. Many hunters pay gunsmiths to mount their scopes, but anyone can do it.
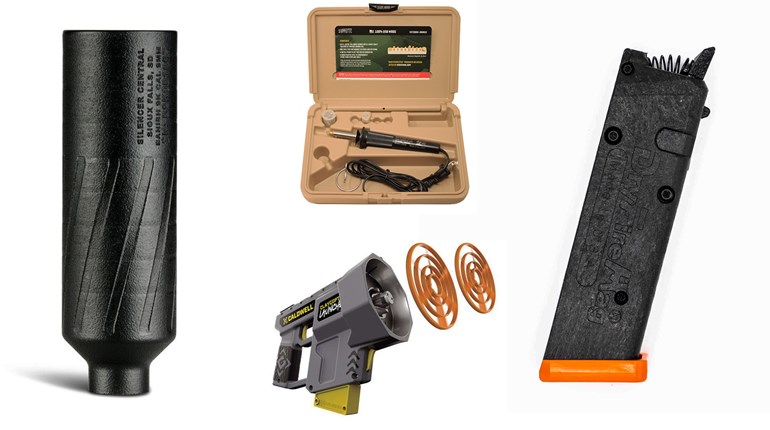
You need a few good tools: gunsmithing screwdrivers with precisely machined bits prevent damage to base/ring screws; a gun cradle secures the gun for work; dowel rods serve to torque dovetail rings into place (never use the scope as this may bend the main tube). Rosin, electrician’s tape, an adjustable torque screwdriver and a scope level are beneficial but optional. Start clean by degreasing bases, rings, screws and screw holes in the receiver with an evaporating cleaner like Gun Scrubber.
Always mount a scope as low as possible. Most modern stock combs are designed for scope use, putting your eye on the scope axis so long as the scope is mounted low. Big objective lenses may force a high mount—not good when the rifle rides in a saddle scabbard.
After mounting, check eye relief, which decreases from low to high power. Check to ensure enough distance remains between your eye and the lens at high magnification, but also that an acceptable distance remains at low power. Properly mounted, a scope should never whack your nose. Can’t find the sweet spot, that full circle of light? Your eye is too close to or too far from the ocular lens. Three to 4 inches is about right.
You must focus the eyepiece (ocular lens), and thus the reticle, on every new scope. Point the scope at a uniform surface just a few yards away to see the reticle clearly. Focus in low light, when your pupil has dilated to the shallowest depth of field of your vision, and the reticle will stay sharp throughout your range of use.
Secure the Bases
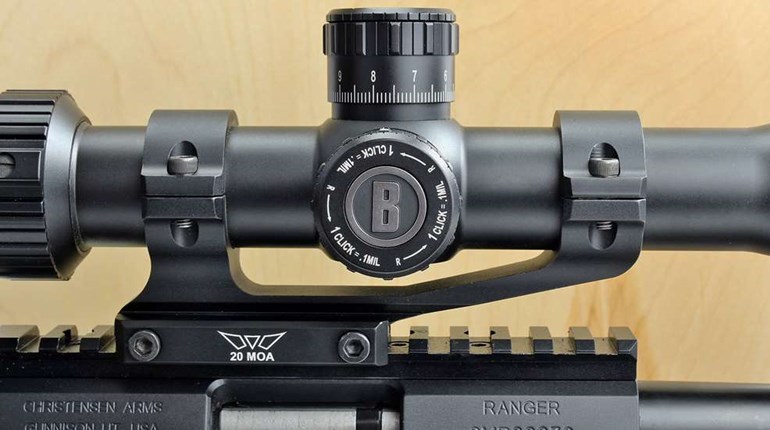
Align bases (or base) with mounting holes in the receiver and check that the distance between the ring areas fits the amount of tube space on the scope. Tighten each screw individually, making sure it clamps to the base securely. At least four threads must engage the receiver taps to ensure strength; replace screws that are too long or short. A drop of thread-lock ensures durability. Overtightening screws risks stripping threads or breaking heads; 15-20 inch-pounds of torque is a general recommendation.

Mount the Rings
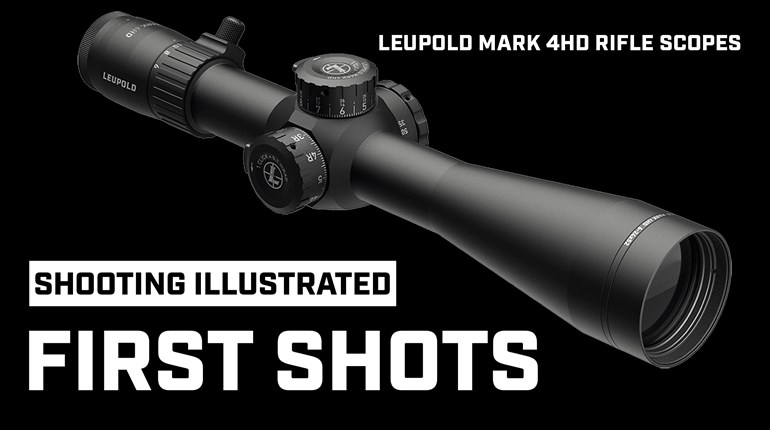
With a rear windage-adjustable ring such as found in the Leupold STD system, turn the windage screws on the rear base evenly to begin with the ring centered. Pivot a dovetail ring into position with a dowel. Ensure the cross-bolt on the bottom of a Weaver-style ring engages the slot in the base and push the ring forward in the slot before tightening. Torque recommendations for windage and cross-bolt screws vary; check the packaging or contact the manufacturer for the correct amount.

Check Ring Fit
Check rings for burrs left from machining and file lightly if needed. For a tight, even fit, and to prevent scratching the scope tube, line inside ring surfaces with electrician’s tape or dust them with rosin. Trim tape with a razor blade.

Check Alignment
Rings must be precisely aligned for the scope to fit without binding. Misaligned rings can stress the scope tube and result in damage. Visually check to ensure ring edges are parallel with the main tube, or use pointed alignment rods from Brownells for absolute precision.

Position the Scope
Snug up the scope in the rings, but leave slack to allow the optic to move for adjusting eye relief and leveling the reticle. To check position, close your eyes, shoulder the rifle then open your eyes: Field of view should be full and the reticle level. Tighten screws in horizontally split rings by using partial turns, alternating in an “X” pattern to prevent uneven pressure from rotating the scope. Check with the ring maker for the correct amount of torque; most recommend 15-25 inch-pounds. With the gun secured in a cradle, peer through the scope to ensure the reticle is level relative to the base, or use a leveling system from Wheeler Engineering.

Bore-Sight
Remove the bolt of a bolt-action rifle, and secure the rifle in a rest. Peer through the receiver, and center the bore on a small object across the room. Alternately look through the bore and scope, and taking care not to nudge the rifle, adjust the reticle over the object. This should get you on paper at 50 yards. For other rifle actions (and more precision) use a laser bore-sighter. Always check and fine-tune your zero at the range before hunting.