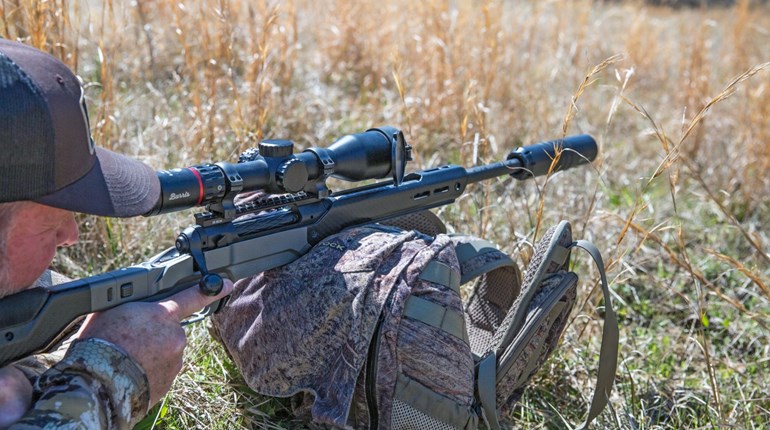
Maybe it is just me, but I would say hunters are hard on their gear. From toting a shotgun in the turkey woods each spring or hauling a favorite rifle throughout the fall, the wear and tear begins to show. The stock is most likely riddled with worn spots, and the receiver and barrel probably show scratches, dings and even dents.
However, it doesn’t have to stay that way; unless you want it to, of course. Some hunters choose to leave the wear as a badge of honor and remembrance of past hunts. But if you’re looking to give your ol’ hunting firearm a fresh new look, here are a few options you have that can breathe new life into your favorite gun.

1. Vinyl Wrap
Quite economical at prices ranging from $30 to $50, depending on the company you buy your skins from, vinyl wraps can provide a fresh new look and come in most of your favorite camo patterns. The kits are ready to go out of the box with pieces of vinyl cut to fit all the parts of your gun, though some trimming may be required. You’ll want to have a hairdryer, X-ACTO knife and screwdriver on hand to help disassemble the gun. You’ll also want to thoroughly clean the gun of all oils before applying the vinyl to ensure proper adhesion. The best part of vinyl wraps is they’re easy to remove if you decide to go with a different option down the road.

2. Spray Paint
This is one of the more economical options, but it’s not something you want to try without getting a bit of practice in first. Similar to using the wrap, you’ll first need to make sure your gun is clean of oils, then choose your paint types (Rust-Oleum and Krylon both make sets of camouflage paint). Next, tape off areas that cannot be painted (and any areas you simply don’t want to paint), and start with a light-colored base coat or primer. Remember to let your paints fully dry before between coats and stick to working on one side of your firearm at a time. Use a variety of natural items—leaves, grasses, twigs or branches—or hand-cut stencils to create your camo pattern. Krylon’s website also provides free printable camo stencils. Be sure to paint in color progression of light to dark, and go easy with your paint distribution to ensure your colors don’t run.
3. Hydrographics (Dipping)
Unlike the two DIY projects listed above, hydrographics (also called dipping) requires sending your gun to a professional to get a fresh coat. The price of a full gun dip can range from $150 to $300, depending on the vendor and type of firearm, but your gun’s new finish will be one that lasts for many years to come. This process also ensures all nooks and crannies of your gun will be completely covered.

4. Cerakote
A form of gun finish that has gained popularity over the last decade is Cerakoting, or ceramic coating. While this process can be done at home, sending your gun off to a professional will get you the best results. A simple web search for certified Cerakote applicators in your area will likely heed multiple results. Check out images of their work and decide which company is best for you. Cerakote finishes are more durable that other options, providing a corrosion, wear and solvent resistant finish, but it’s the most expensive of the four options (typically ranging from about $200 to $550, depending on the vendor and finish choice), and you won’t be able to get your favorite camo pattern. However, the upside is that your gun can get a finish that is truly unique. I sent my ragged Remington 870 off to WeaponWorks LLC, and they breathed new life into it with this awesome finish.


