An outfitter-led pronghorn hunt can be an exciting experience; with unimpeded access to prime, private properties and minimally pressured animals, hunter success is generally very high—provided that you’re an adept shot and hunter.

Many individuals “cut their teeth” on western big-game hunting this way; I did. However, in my experience, the gratification that comes with taking a pronghorn with the aid of a guide begins to diminish with time.
My first do-it-yourself (DIY) pronghorn hunt was an accomplishment by any measure, and it cemented my preference for non-guided hunts. Not only did I take my largest antelope buck to-date, but the experience was invaluable and unforgettable. Here are some things you need to consider for a DIY pronghorn hunt—especially if you’re on a tight budget, like I was.

Develop a Plan
Want to invite chaos? Then proceed all willy-nilly. If you want memorable experience, then it’s critical to formulate a plan. Hopefully, you thoroughly considered the area (or unit) that you’re pronghorn hunting before applying for the tag, as ideally you want a high public-to-private property ratio. If you didn’t, things will be a bit tougher.
Well before departing for your adventure, secure detailed maps (including BLM maps) of your unit and any hunter management/walk-in-areas there within. Either paper or digital maps are fine. Spend considerable time reviewing them; note key locations such as boundaries, water, terrain, access points, etc. You should also complete any applications necessary to attain permission slips for private land access well in advance. If you’re like me, it will require a multi-hour flight to your favorite pronghorn hunting unit—you cannot simply drive to the area and scout in advance. I recommend studying maps and Google Earth, reading Internet forums (but take them with a grain of salt), and conversing with biologists and conservation officers familiar with the area.

A GPS loaded with an onX Hunt chip is a handy tool, though it’s not required; you can install the program to your smartphone via the onX Hunt app, too. With onX Hunt, you gain access to a tome of maps that’ll help you navigate the perils of property boundaries. There’s no leniency for trespassers, and ignorance of property lines isn’t an excuse. Although onX Hunt has a monthly charge, there are others that are free; however, quality can vary significantly. Whether the apps are worth it or not is up to you.
You should have a rough day-by-day plan created before arriving. This can (and will) change, depending on the progress of the hunt, but it nonetheless provides a timeline of where you’ll be and when. A copy of this should be left with a spouse or trusted friend in case something goes awry. Have alternative spots pre-selected in case one location is a bust. Once there, don’t be afraid to ask a local landowner in that unit if he or she will grant hunting permission. Oftentimes, if the hunting rights weren’t already purchased by an outfitter (and they’re hunter friendly), they might give you permission or charge a small fee. Always have extra cash on-hand.
An antelope’s uncanny eyesight renders a lot of stalks as failures. And, since you’ll be competing with other hunters, you’ll need extra locations at the ready. First-attempt slam-dunks on trophy-class animals are relatively uncommon, as well. For all these reasons and many others, I usually allocated three days just for hunting, though five is preferable if you’re after an exceptional antelope. Five days provides extra time for glassing numerous bucks to find “the one.” Regardless of how many days you hunt, you must confirm the zero of your rifle before hunting. If you cannot locate a dedicated range, target shooting is permitted on BLM land, provided that it’s done in a safe manner.

Logistics
The hunt area primarily dictates the logistics, though your requirements for creature comforts play a part, too. First, you’ll need an off-road-capable, four-wheel-drive vehicle. Rent a spacious full-size truck to carry all your gear and supplies, along with extra insurance—you might need it. Your list of supplies depends on your approach; if you’re staying at a hotel and will be eating in town, then you’ll only need to snacks and drinks. On the other hand, if you’re planning on camping, you’ll need to take all camping gear with you.
Transporting camping equipment is a logistical nightmare; even with compact, flyweight items, you’ll likely still be overweight in a second bag or have to pay a third-bag fee. Both often equal or exceed the price of a night’s stay at a good hotel. More trouble comes when you head home with meat—yet another bag. For the short-duration, non-trophy hunter, you might just splurge and stay at a hotel; it’s more comfortable and less hassle. To further reduce traveling weight, I remove the padding from the gun case and pack it with clothing. You get 50 lbs., use it.
For those that are camping, I’d recommend getting foods that are quick and easy to prepare, such as tuna fish kits or one of the myriad of freeze-dried foods. The latter requires hot water, so a Jetboil or similar will be needed to heat it. You’ll need to purchase the fuel canisters locally, as you cannot travel with them on airlines. The less you eat out, the more money that you save. If you have extra food leftover at the end of your hunt, consider donating it to a local shelter or church before heading home. They will be most appreciative.

An aspect that’s often overlooked, determine what you’ll do with the pronghorn if you’re successful before the hunt. If you tag out early and have extra days, you can elect to drop it off to be professionally butchered, wrapped and boxed, which is the best option. Research the butcher locations and hours of operation beforehand. If you don’t have the time or money to go through a butcher, then you’ll need to do it yourself. Here’s where it gets messy.
According to the Wyoming Game and Fish Department, for example, “the head, spine and other nervous tissue shall be left at the site of the kill or bagged and disposed of in an approved landfill.” Fortunately, Wyoming lists the approved landfills on department’s website, so check in advance. If you’re hunting elsewhere, see if the state has similar regulations and resources. It should go without saying to not leave carcasses littering the property of hunter management/walk-in-areas, as it’s unsightly and can leave distaste in the mouth of a cooperating landowner. When processing the antelope yourself, be sure that no edible meat is missed and hair is kept off the meat. Cool the meat as quickly as possible. Lastly, know the regulations about transporting the head home before doing so.
Processing the meat is only one part of the equation; you must get it home, too. Available at many locations—I purchased mine at Walmart—dry ice is typically used to keep meat cool in transit. However, it can cause a headache with regards to airlines. According to the TSA Blog, dry ice is permissible as long as certain criteria are met. Follow the guidelines exactly. Airlines often limit the amount you can have, so research this in advance. You want everything in order before arriving at the airline ticket counter.
If you want to avoid all fees for extra baggage and processing (at least partially), you can often donate the animal to be processed for those needing food through programs like Hunters for the Hungry. States differ with regards to regulations concerning doing so, so contact the state game department or a conservation officer to get advice on how to legally do so.

Gear for Pronghorn Hunting
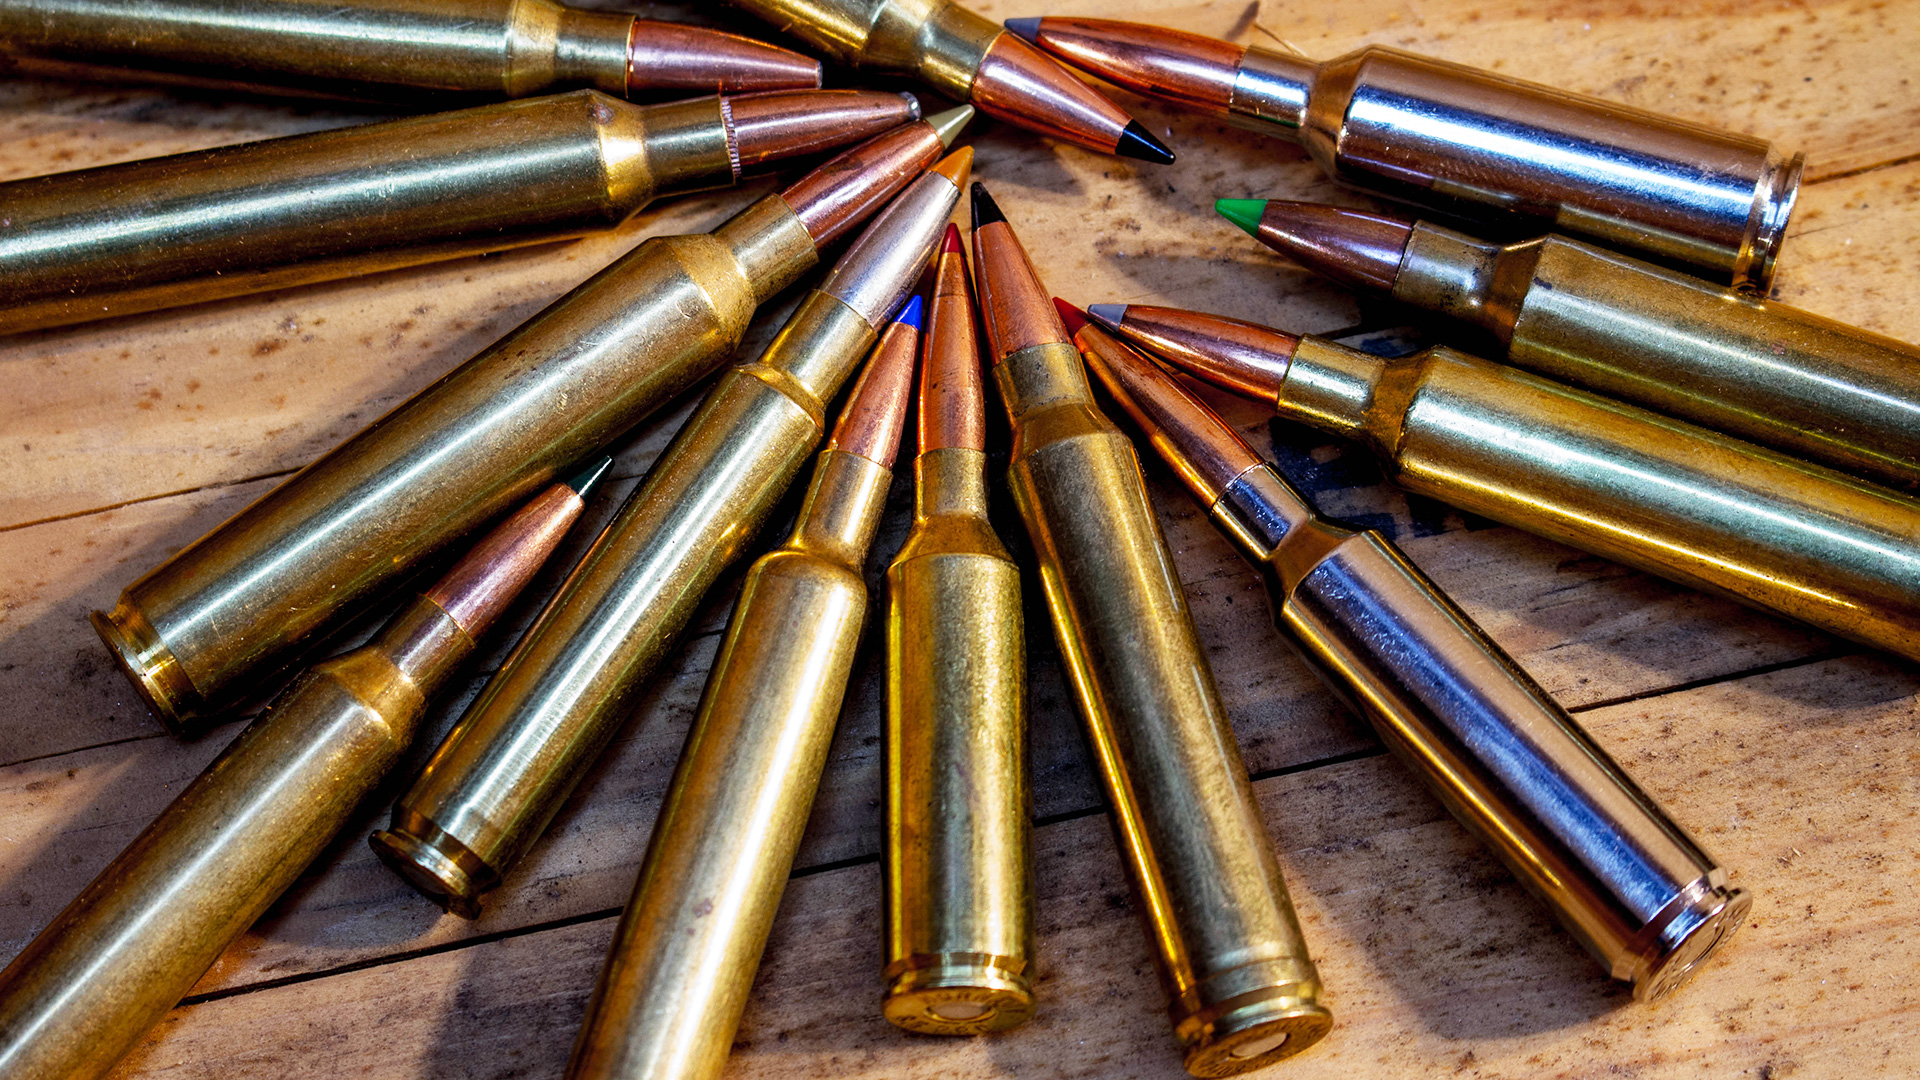
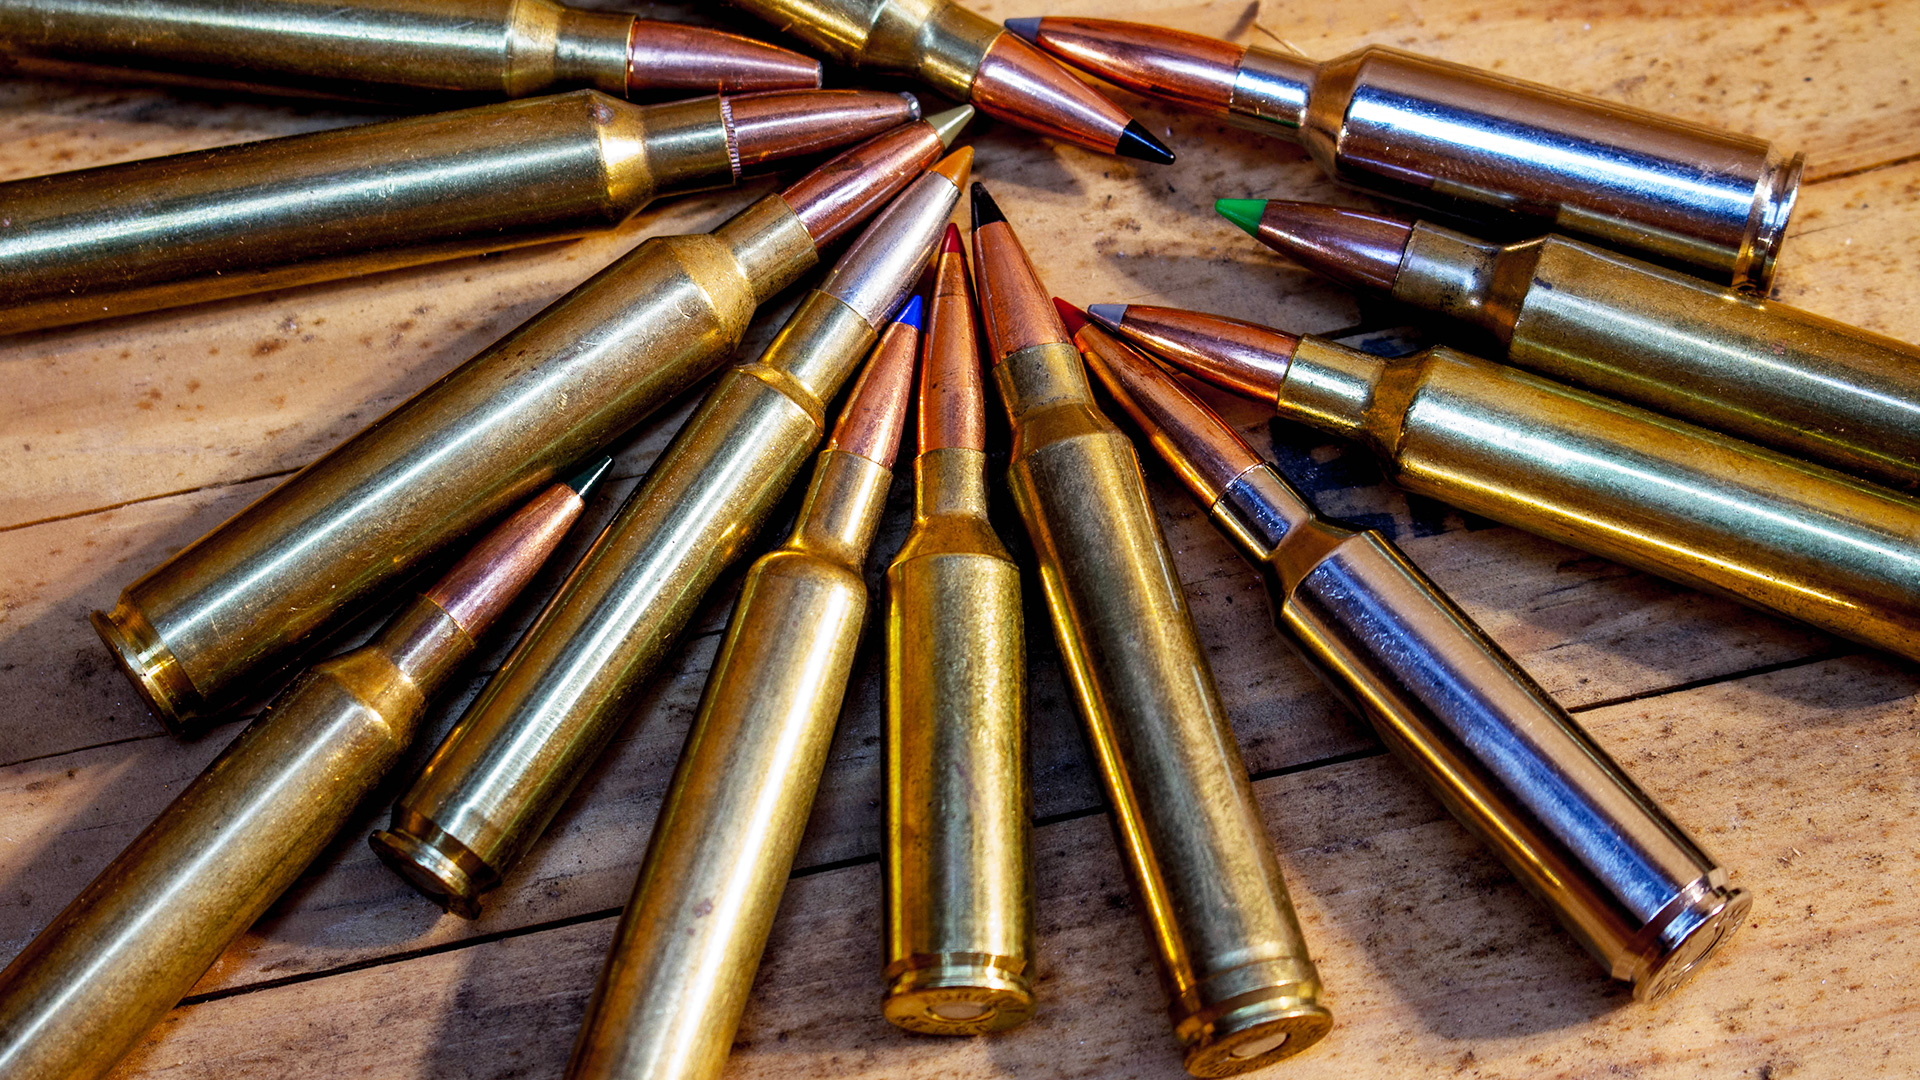
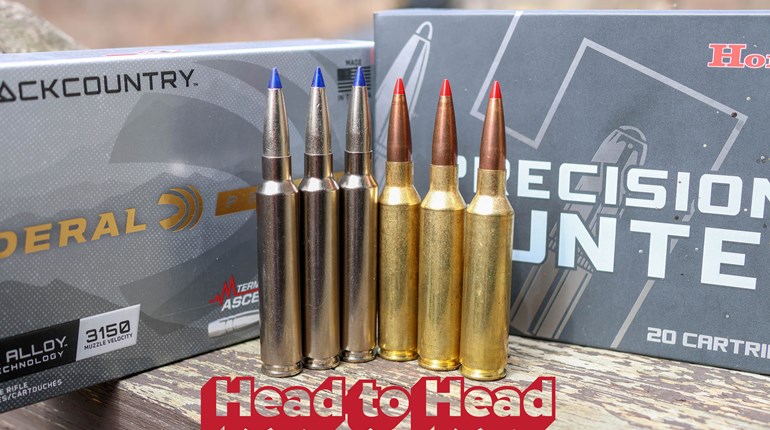
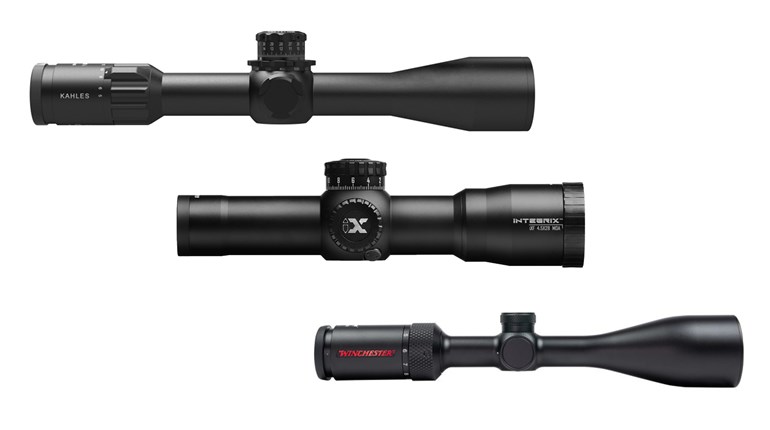
When selecting gear for the hunt, refer to the state game department’s website for firearm information, as well as a weather report (NOAA) for the weather. The latter will ensure that you’re prepared clothing-wise. As for firearms, opt for a flat-shooting caliber topped with a high-quality optic (if legal) in equally stout rings and bases. Skimping here can hinder success. Pronghorn aren’t particularly tough to kill; any caliber that’s legal to hunt them with will work provided that the shot is true and a quality, rapid-expansion bullet is used. Good cartridges for antelope include: .243 Win., .25-06 Rem., .257 Wby. Mag., 6.5 Creedmoor, .270 Win., 7mm-08 Rem., 7mm Rem. Mag., .308 Win. and .30-06 Sprg.
You’ll need a portable rest, such as shooting sticks or bipod—I have both on-hand—and practice shooting at various distances using them. You’ll discover your maximum effective range when doing this, and don’t surpass that distance in the field. A rangefinder will prevent you from doing so. Also, intimately know the ballistics of your rifle/ammunition combination so you know the drops and come ups. I tape a small ballistics table to the stock of my gun for quick reference. Hornady’s website is an excellent resource for creating one.

Don’t overlook the value of a superior binocular and spotting scope. Not only will they help you better locate and field-judge trophy bucks, but high-quality optics won’t produce the headache-inducing eyestrain that comes from long viewing session through cheap glass. Magnification is a matter of personal preference, but in general, the higher the better (in a premium optic). Concerning trophies, I highly recommend that before leaving, you read Mike Eastman’s Hunting Trophy Antelope book. It’s unparalleled in teaching you how to field judge antelope, which is very difficult. It’s well worth the price.
Other items to consider are a roomy daypack, quality boots (broken in before arriving), a hunter orange vest and hat, a small medical kit, extra ammunition, flashlights, a sharp knife, garbage bags, hearing and eye protection, gloves and knee pads (think cacti). This isn’t an all-encompassing list, but it’ll get you started.
After reading this, you might think that the juice isn’t worth the squeeze, but I can assure you that it is. When I pulled the trigger on my heavy-horned buck at 331 yards, I knew DIY hunting would be forever rooted in my soul. It offers an unparalleled sense of accomplishment that I feel cannot be equaled with a guided hunt.


