Sadly, a disproportionate number of hunters don’t practice during the offseason, and who can blame them? Poking paper bullseyes off a shooting bench scarcely resembles a hunting scenario, and if you need to convince somebody that shooting can be boring, there may be no better way. Besides, it encourages shooting toward the center of whatever you’re aiming at, something you never want to build into habit when live game is involved. Setting up a woods-walk target course is a far better way to get your rounds in when nothing is in season. A woods-walk course helps you work on your shooting position, trajectories and snaking your bullets through the vitals. Installing one on your property is relatively simple and, in many cases, involves nothing more than good-quality steel targets and a means of hanging them.

Equipment Considerations
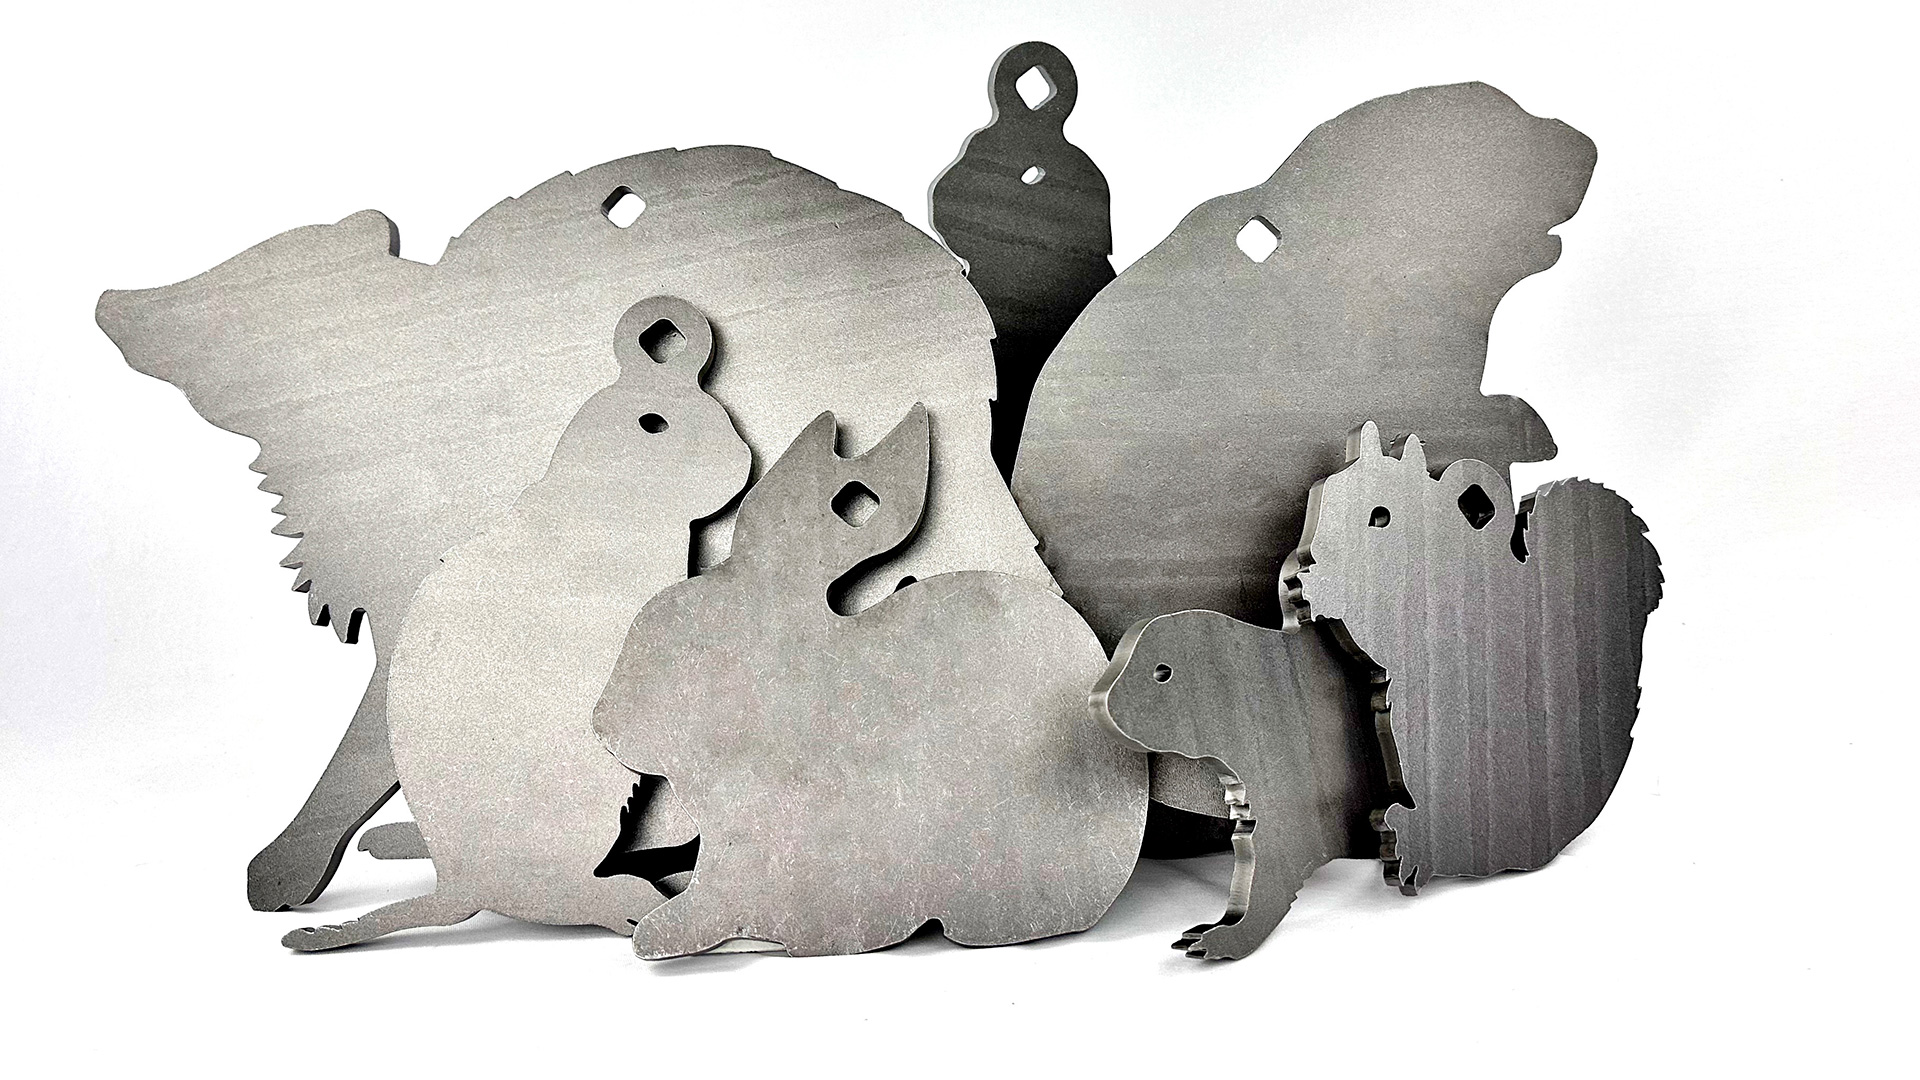
The goal of a woods-walk is to recreate common hunting shots with the ability to practice them all year long. As mentioned before, we want to ditch circular paper or gong-style steel targets and instead opt for shapes that represent the real deal. There are a few companies out there that offer animal silhouettes, and I’ve found that those from Caldwell and Atlas Target Works deliver the best bang for your buck and the most comprehensive definition. As you peruse their pages, you’ll have to make a decision: Do you want your course to represent the game you hunt at home or embody your dream hunts? Keeping to animals that can be found locally might help you take it more seriously, but being able to escape into a little fantasy is never a bad thing.
Once you’ve decided, you need to ensure your terrain will allow your targets to be set up in a realistic manner that is still safe. Standing a row on the ground might look a bit silly, but you need to have a steeply sloped backstop to position one at a more practical height. Once your steel is on its way, it’s a good time to take a trip to the hardware store, as you’ll have some painting to do. One of the greatest debates is whether to paint your targets with brilliant colors like blaze orange or yellow or make them as natural looking as possible. The beautiful thing about steel is that you don’t have to commit to one or the other. My best advice is to paint them an easy-to-find color the first time around; then, as you are sure you won’t lose them to the vegetation, paint them to be more representative of their living counterparts. This will aid in finding “pieces” of animals through sticks and leaves and help you learn the limitations of your optics.
Deployment
This is one of the few times in life where the work is the fun part. Positioning a zoo of steel throughout your woods is a fulfilling experience, but like anything else, safety comes first. There are a lot of ways this can go wrong, so thoughtful placement is a must. Just like in real life, you need to have a reliable backstop behind each target. Furthermore, it needs to be close and obvious. The mindset of “one of those trees back there will stop the bullet” must be abandoned before the targets are even unwrapped. Many states even mandate the distance and type of backstop that must be employed. Once you have a few prospective target sites mapped out, you need to decide if this is going to be a rimfire or a centerfire course. If you want the course to be centerfire rated, consult with the manufacturer as to the minimum safe distance to engage their targets with such ammunition, and ensure the targets can handle the greater energy level of these cartridges.
Once you have that information, each shooting point should be clearly marked with a piece of fluorescent rope or other similar material. It’s a good idea to skip the flagging tape, as it’ll interfere with trail markers or other waypoints that you and the other land users share. Likewise, spray-painting these firing points has the downside of permanence and will be troublesome when you decide to change things up. Your final consideration should be marking the immediate area around your impact zone. While this area should already be an untraveled piece of your property, it’s a good idea to warn anybody who might have lost their way.

When it comes to hanging steel, I opt for easily replaceable methods as, let’s be honest, we’re going to miss from time to time. One of the simplest solutions is bicycle hooks, as they screw in by hand and can be replaced for under a buck in just a few seconds. They work best for trees that are thinner than the diameter of the target, as this setup will protect them from longitudinal misses. For targets that look better off the ground, this is best accomplished by recycling firehose and wrapping it around an off-shoot. Firehouses dispose of this stuff regularly to ensure their service hoses don’t spring a leak; they’ll be just fine for your needs. Lastly, if no suitable trees are available, Caldwell makes a product called the Ultimate Target Stand that erects a 2-by-4 anywhere you need to hang a target. Common shepherd hooks also work but will need to be reset every few shots.
Running the Course
With your course open for business, a standard set of rules will help to gauge progress and make things a little competitive when friends join in the fun. On my range, each person gets three attempts per target. If they score a first-round hit, they earn three points. Two points are awarded for a second-round hit, one point for the third, and a goose egg if they fail. Each shot needs to be taken with at least one body part within 6 inches of the firing point marker. We do this because it forces shooters to meander shots between trees, fire from kneeling or even rip their rounds entirely freehand. After the new year, when a little cardio is required, we run the course and divide the overall score by time.
Having a woods-walk target course in your backyard is going to keep you thinking about hunting all year long and give you and your friends a means of earning bragging rights. If space is limited, consider setting up a similar course at reduced distances for air guns or subbing in the appropriate archery targets for some bow work. I personally use mine to test guns, optics and even clothing, as it’s far better to reveal an issue at this time than on opening day. It’s also a great opportunity to work on your stalk and figure out what squeaks, rattles or is generally uncomfortable. If nothing else, it gets you working on your marksmanship, ensuring that next season, you’ll spend more time skinning and less time tracking.


