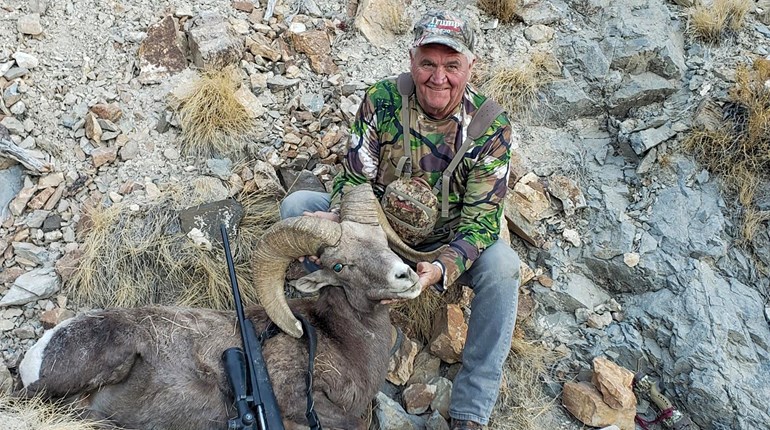
Before the advent of modern pressure canners canning meat successfully was part alchemy, part lore and a fair amount of luck. As I write this I have a dozen pint Mason jars full of deer meat from a couple of whitetails I shot last week cooling on the kitchen table. The occasional “pop” of a lid contracting onto its seal makes for a pleasant percussive background noise.
If you can follow directions well enough to handload your hunting ammo, you can safely can your game meat. Cleanliness—no, absolute sterility—is the operative word in canning. Everything must be absolutely sterile to prevent botulism or some other infection from destroying your hard-earned meat. Beyond that, it is a simple matter of following the directions supplied with your pressure canner.
I have canned deer meat using a couple of recipes. The first is utter simplicity. Trim and cut the meat into 1-inch cubes, removing all of the fat and as much of the tendons and connective tissue as possible. Load up a Mason jar—I prefer the wide-mouth pint size—to an inch below the rim. Screw on the lid finger tight and put it in the pressure canner. Canners vary somewhat in their recipes for cooking pressure and time, so follow your canner manufacturer’s recommendations taking into account the altitude at which you are canning. This supplies you with fully cooked basic meat in its own juices, though it can be a bit lacking in flavor.
The other method I use is to pre-cook the meat on the grill. It just barely needs to be rare. Then cut it up as before and load your jars. Mix up some au jus from the packaged stuff you buy at the store and fill the jars to an inch below the rim and can as before. Between the au jus and the garlic I use when grilling the meat the result is very tasty.
Canned meat can be used in stews or warmed with gravy over rice or potatoes. I usually use mine to make burritos when I forget to thaw something during the day. It’s a lot healthier and better tasting than a TV dinner.


