Photos By Georgia Pellegrini
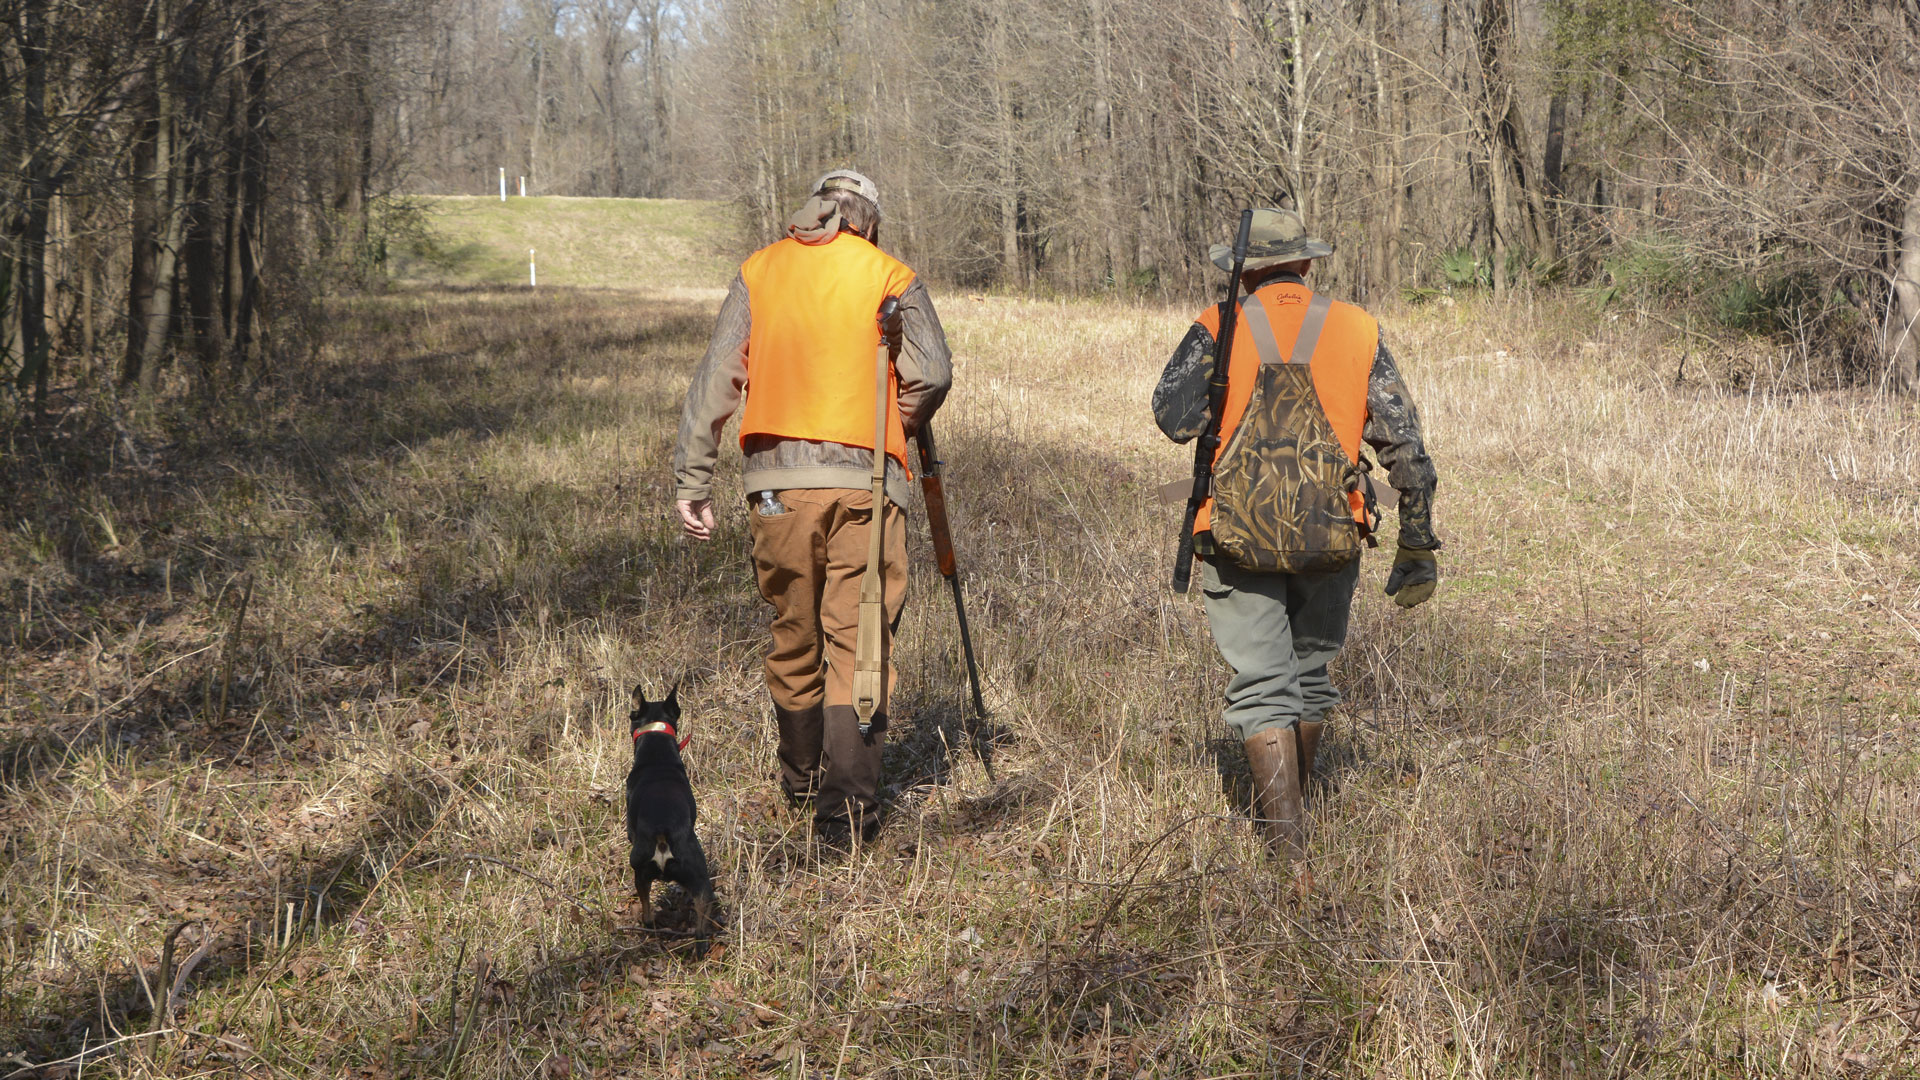
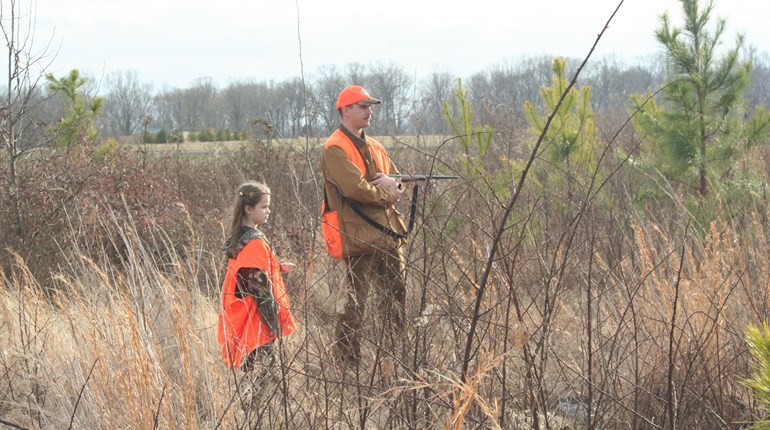
One morning in early December, I looked at a stack of recipes I had to test for my next book, “Girl Hunter.” I thought to myself, “I need a lot of wild hogs.” Over the next two days, by virtue of luck and persistence, I harvested eight—five while sitting on a deer stand in the Arkansas Delta with a Mississippi River breeze on my face, and three more while riding on a four-wheeler behind a menagerie of dogs, trained and suited for hog hunting—brave dogs with scars and stitches on their chests. There was a Rambo knife involved, and I channeled the primitive cavewomen in me—all in the name of sausage. What else is a girl to do with a 300-pound hog than turn it into a medley of sausage.
Even though I was making venison sausages, I still needed fat, and a large hog, even a wild one, typically has a nice white layer on its back. A meat’s distinctive flavors reside in the fat, and so wild animals always make a more interesting sausage than one you will find in a store.
Sausage is one of the earliest prepared foods, made by humans as far back as 589 B.C. It was a way to make good use of animal parts that were edible but unappealing. It was traditionally made by stuffing a combination of ground meat, fat and spices into a natural casing. A natural casing is the inside out intestine of a pig, sheep or cow, depending on the type of sausage you are making. It is yet another way our ancestors used every part of the animal, while preserving meat by curing, drying or smoking the sausage.
Making sausage is quite simple as long as you abide by a few rules. You should use clean equipment and ingredients and spices should be ground fresh whenever possible. You can even dry herbs yourself for more potency. The fat to meat ratio should be at least 30 percent to 70 percent, or higher in fat for very lean meat. The meat and equipment should always be kept cold while working with it, particularly with wild game, which is denser than domestic animals with more connective tissue, making it harder to push through the grinder. Meat grinders can be purchased as an attachment to most stand mixers, or there are heavy duty stand-alone grinders available at most outdoor specialty stores.
One of my favorite types of sausage to make is Venison Kielbasa, a descendent of an Eastern European sausage. The texture is different from a regular sausage in that it is emulsified, making it most similar to a large smoked hot dog. This emulsification is achieved with the help of ice and milk powder. It is important that this meat mixture be particularly cold before it is pushed through the sausage grinder, since it will be ground more finely than typical sausage.
There are seven basic steps to making sausage. You can use these steps to make a variety of sausages, and view it as a chance to experiment with your favorite meat and ingredients. The process goes like this:
1) Season the meat. Combine all of the spices with the meat and fat and marinate for up to 24 hours, covered in the refrigerator.
2) Grind the meat. Place the marinated meat and fat in the freezer until it is firm but not frozen. Chill the moving parts of a meat grinder, as well as a mixing bowl. Set up the grinder with the course grinding plate with the bowl below to catch the meat. Push the cold meat and fat through the grinder, along with any juices and seasonings left in the marinating bowl.
3) Mix the meat. Make sure the ground meat is still cold, no more than 40 degrees F. If it has warmed, place the bowl with the ground meat into the freezer for a few minutes. Then, with the paddle attachment of a mixer or with your hands (latex gloves work best), beat the mixture until it is sticky and uniform. Place the bowl in the refrigerator while you prepare the casings.
4) Soak the casings. Place the sausage casings in a bowl of warm water for at least 30 minutes. Carefully run water through each casing and look for water coming out of any holes. Cut out any portions of the casings that have holes.
5) Stuff the casings. Cool the sausage stuffer in the freezer until it is cold to the touch, about 15 minutes. After removing from the freezer, set it up on a flat surface and slip the first length of casing onto the tube of the sausage stuffer until only about 6 inches trail off of the tube, leaving the end untied. Tightly pack the canister with the sausage stuffing and begin to crank the handle very slowly until the meat begins to fill the casing. Use your free hand to control how tightly the casing is packed. When the casing is full but for 6 inches left on the tube, pull it off and tie both ends.
6) Make links. Pinch the casing about 6 inches from the end to separate the filling, and twist the link toward you a few times. Continue pinching every 6 inches along the casing and twisting in the opposite direction, to avoid unraveling. Once the length of casing is tied off, use a sterilized needle to prick a few areas on each link, especially where you see any air bubbles. This will help prevent the sausage from bursting.
7) Hang the links. Hang the sausage links over a pan for several hours then wrap them in butcher's paper and let sit in the refrigerator overnight before cooking. Sausage will last 3 to 5 days in the refrigerator or it can be frozen for several weeks.
Here are the ingredients I use for one of my favorite wild game sausages. Give it a try sometime! It is a fun experiment, and a chance to conjure your early human roots.
“Venison Kielbasa”
3 pounds venison shoulder or haunch, cubed
1 pound hog butt, cubed
1 pound hog or domestic pig fat, cubed
½ cup bacon, diced
¼ cup Kosher salt
1 teaspoon pink salt* (Insta Cure #1)
½ tablespoon sugar
1/8 cup white peppercorns, finely ground
1/8 cup mustard powder
1 teaspoon garlic powder
1/3 cup milk powder
2 ½ cups crushed ice
Natural pork casings, soaked in a bowl of warm water for 30 minutes
--Combine venison, pork, fat, bacon, salt, pink salt, sugar, white pepper, mustard powder and garlic powder. Let sit overnight, if possible.
--Before you are ready to grind the meat, put it in the freezer for about 1 hour until meat is firm but not frozen.
--Grind meat and fat through a medium to large die, taking care to alternate pieces of meat, fat and bacon.
--Return meat to freezer for at least 30 minutes.
--Grind meat again, this time through a small die, while gradually adding crushed ice. Grind very small amounts of meat at a time. As the meat grinds, it should be cold enough so that it extrudes on its own, without pressure.
--Place mixture in bowl, and mix on lowest speed for 2 to 3 minutes, stopping to clear paddle as needed.
--Add milk powder and paddle 1 to 2 minutes more on lowest speed. Take care not to overmix as it could result in rubbery texture. (You may need to add some ice water to facilitate mixing—no more than 1 cup).
--Poach about 1 tablespoon of sausage in hot water to test seasoning and texture. Adjust as necessary.
--Stuff mixture into pork middles 6 to 8 inches long. Twist the casing off into links. Prick the links with a sterilized needle in a few places to release air bubbles. Let hang for a few hours over a sheet tray, then let them sit overnight in the refrigerator.
--Smoke sausages at 250 degrees F for 45 minutes to 1 hour in a single layer until sausages are nicely red on all sides and firm. As they smoke, flip sausages as frequently as possible.
--Before serving, sear the sausages in a skillet until golden brown and warmed through. Serve with course mustard and sauerkraut. Makes five pounds.
*Note: Also referred to as Prague powder, tinted cure mix, or Insta Cure #1, pink curing salt #1 (a mixture of salt and nitrite) is used in many types of cured meat products that are made and then cooked or eaten fairly quickly. The nitrite keeps the meat safe for a short period of time, and maintains the meat’s red color as well as gives it that “cured” taste. Its main purpose it to prevent botulism poisoning. It can be purchased from many places on the Internet.


