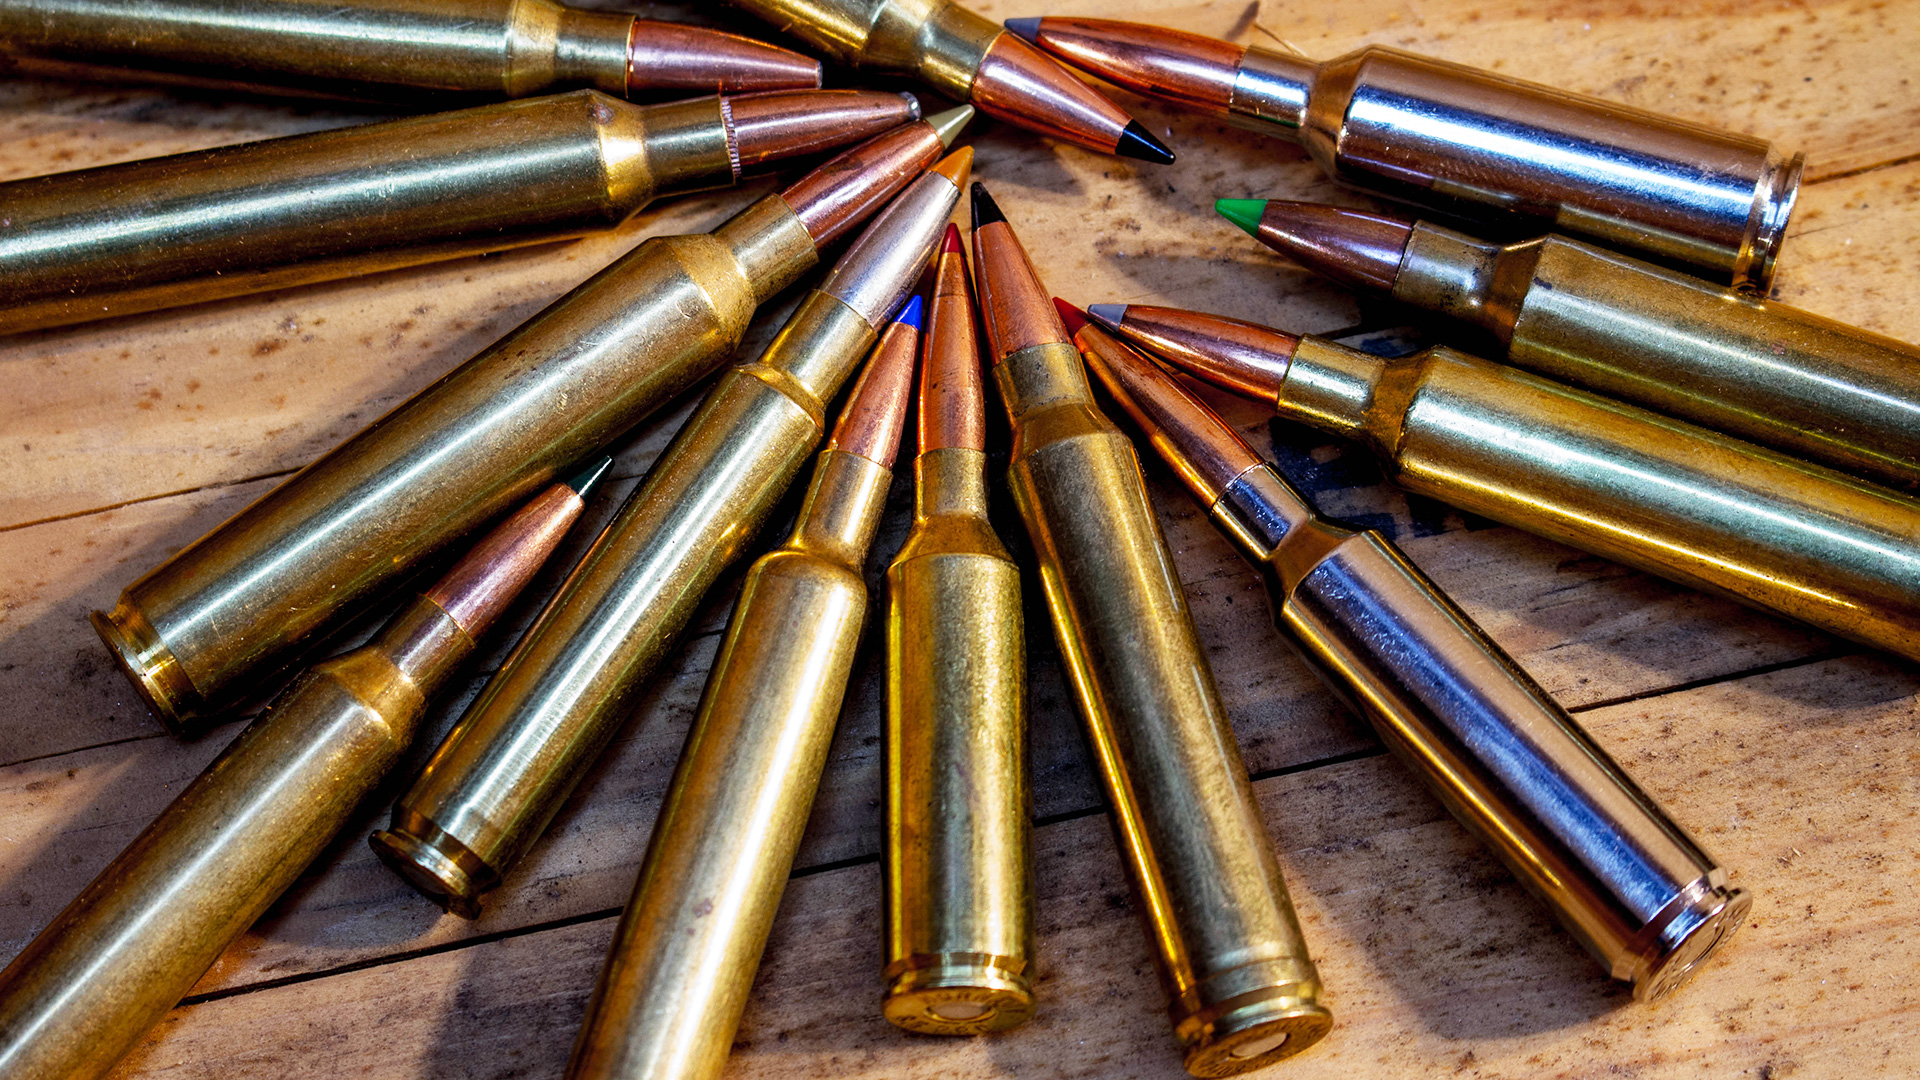
Regardless of the sport, a common term used is “benching” a player, meaning for one reason or another they’re taken out of the game. Sometimes it’s to save them for a more important game later, though sometimes, quite frankly, it may be because they don't fit the current realities on the field and are hurting the team. On that note, one of the most inconvenient things about reloading is the bench necessary to reload in the first place. Imagine if you could reload anywhere, anytime … wouldn’t that be great? Turns out, you can bench the reloading bench and reload on the go. Here are the tools to do it.

Lee Breech Lock Hand Press
This is the essential portion of the portable reloading kit. Why? Because the Lee Breech Lock Hand Press allows you to forgo the bench. While you can buy just the press outside of the kit, getting the kit offered by Lee is the best way to go, as it comes complete with a ram priming tool, a powder funnel, case-resizing lubricant, a lock-ring wrench and a Smart Lock Bushing. The hand press is less than two pounds, too, so you can size brass, prime cases, weigh charges, dump powder, and seat bullets, all with this tool, and a few others.

Scale (with Pan)
While electronic scales in theory are smaller, if this is coming to hunting camp, the last thing I want to do is leave to go buy batteries. That said, a beam scale is the way to go, and though it may be more expensive and may take up a tad more space in the bag, durability is worth something in this case. One from Hornady or RCBS will work perfectly. And don’t forget the pan to hold the powder.

Case Lube (and Q-Tips, Solvent and Mason Jar)
Because it’s never good getting brass stuck in dies, case lube—and a way to spread then dissolve it—is a must. A little bit of redneck ingenuity goes a long way. An oil can like those found at most auto-parts stores works great for the lube itself, and Coleman White Gas works great as a solvent (especially since it’s in its own container). The process is simple. Spread the case lube on the case necks inside and out (and on the outside of the case body), using a Q-tip to lube the inside of the neck, size said case, and place however many pieces of sized brass you make in the mason jar. Then pour in the Coleman fuel till it drowns the sized cases, wait 24 hours for the lube to dissolve, pull them out of the fuel and let the fuel evaporate off. Yes, this is a long-ish process, but it’s no different than what most of us do at home at the bench anyway. Is this all technically best practices? No. But will it work? Yes, because I’ve done this multiple times.

Dies
This one might be a no brainer, but still, make sure you have dies for whatever cartridge you plan to reload for, otherwise you’ll be in trouble and need to go home—and that’s the whole point of this kit: so you don’t have to do that. On the note of dies, though, if you really want to get into the weeds with reloading away from the bench, it doesn’t hurt to have a trimming die for your specific case … and wouldn’t you know it, Lee makes those, too. Again, this adds time, and probably is the step of reloading that will take the most time, considering this is going to be done by hand, though that doesn’t mean you shouldn’t take the time to do it if you feel it’s necessary. Even after a couple of reloads, unless you’re using one piece of brass for every shot, you shouldn’t need to trim brass, especially in a pinch like what this kit is designed to help alleviate. One last note: include an Allen key (or whatever driver or bit fits your lock ring set screw if there is one) in your reloading die box, that way you can tighten down lock rings if they come loose. You might also include a powder scoop and a custom dummy round—a round made to your reloading specs without the powder and primer—so you can preset your bullet-seating die if the lock ring moves.

Dial Caliper
Again, trying to avoid batteries here, but bring an electronic one if you so choose. A caliper is essential to ensure COAL, case length, etc. are set properly. You can also leave a dummy round in your die box (essentially seat a bullet to length with no primer or powder) so you have a reference piece to check your work against as you seat bullets and/or measure case lengths. This dummy round can also be used to help set bullet-seating dies if the lock rings on the die bodies moved. In any case, a dial caliper is ideal for checking to make sure things are all as they should be when it comes to the specs of your specific handloads.
Reloading Components
This is similar to dies, except maybe even more crucial. Please, don’t be the person that leaves your primers, powder, brass, and bullets out of the kit simply because it wasn’t referenced in detail … That’s all I’ll say here.

Packing It In and Out
While there are a handful of ways by which a reloading kit can be contained, I personally like the large Magpul DAKA Takeout bag. It’s made from durable, reinforced polymer fabric that’s got an anti-slip finish on it, so it won’t slip off the tailgate if there’s a bit of water or blood in the bed. The seams on the bag are RF welded, which, when paired with the Aquaguard zipper, make it extremely water resistant (and the DAKA material is resistant to other chemicals, for that matter). This helps prevent rust and helps keep things sensitive to liquids—think powder and primers—dry in wet conditions.
Extras:
There are a few parts that can be added for convenience, but they’re not necessary to make rounds away from the bench. I’ve listed them as follows.

Chronograph
This one may seem a little out of place. Why bring a chronograph? Because changes in the environment from your range where you zeroed to hunting camp can have a decent effect on your ballistics, and if you’re handloading in the field like this, you’ll want to ensure consistency with a few test rounds. As an example, when I lived in Virginia and Colorado and shot my .300 WSM reloads, there was a difference of a few hundred feet per second. That doesn’t sound like a lot, but that was 5,000 feet of elevation change. Double that elevation change at times if you’re going to elk or sheep camp from sea-level or vice versa, and you’ll certainly want to confirm velocities, especially with the fresh batch of reloads you just worked up in a different environment. In short, while it’s not necessary to actually reload, a chronograph should definitely be a piece of gear in this kit. There are now compact units, so it won’t take up much space at all. I know … I broke the “no batteries” rule. But this is outside of actually making ammo to shoot.
Funnel
A powder funnel isn’t a hundred percent necessary and can be made from nearly anything—a paper plate, for instance—but let’s be real, I’d be guiding you wrong if I didn’t suggest this be part of the kit. I put it here solely because it’s not an absolute and there are workarounds, albeit less ideal.

Powder Trickler
This one is optional as well because you can scoop granules out with something like a spoon or a powder scoop if you have one in your die set. Is it ideal to not have one? No. But can you make do? Absolutely.

Chamfer/Deburring Tool
Depending on the quality of brass you’re using, you may or may not need this, but it certainly helps with seating bullets. It’s also an extremely small piece of equipment that doesn’t need to be skimped on since it’s so easy to pack.
Parting Notes
A few things to bear in mind with this portable kit. This will be a somewhat slow process, as you’re using a single-stage press to do all the work. The counter to this is that it will likely still beat leaving hunting camp, especially if you’re more than an hour or so away from your reloading bench at home. Secondly, this kit is designed to be battery-free because, again, if you’re in hunting camp, the last thing you’re going to want to do is leave camp to go buy batteries to make certain pieces of this kit run. That said, various components can be substituted with lighter electronic counterparts (like the scale) but personally, I’d rather minimize failure points for my kit.


