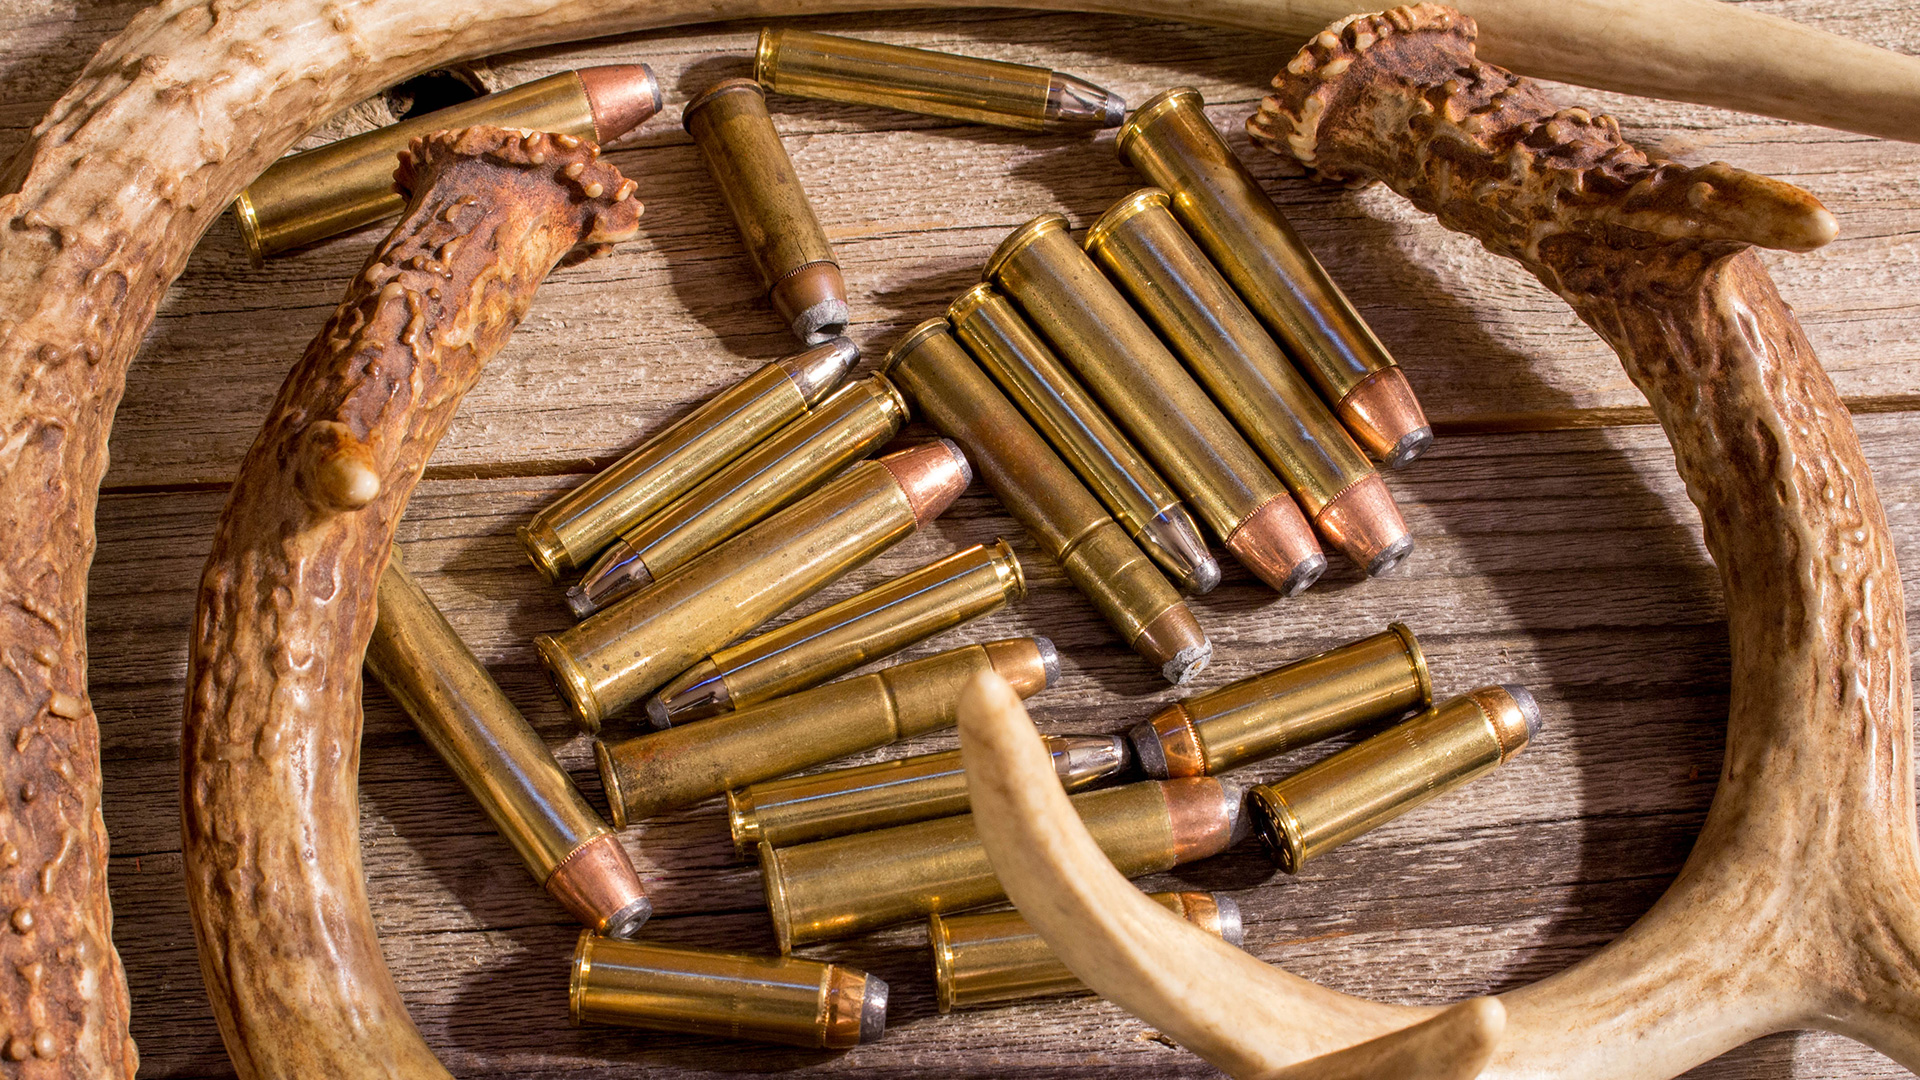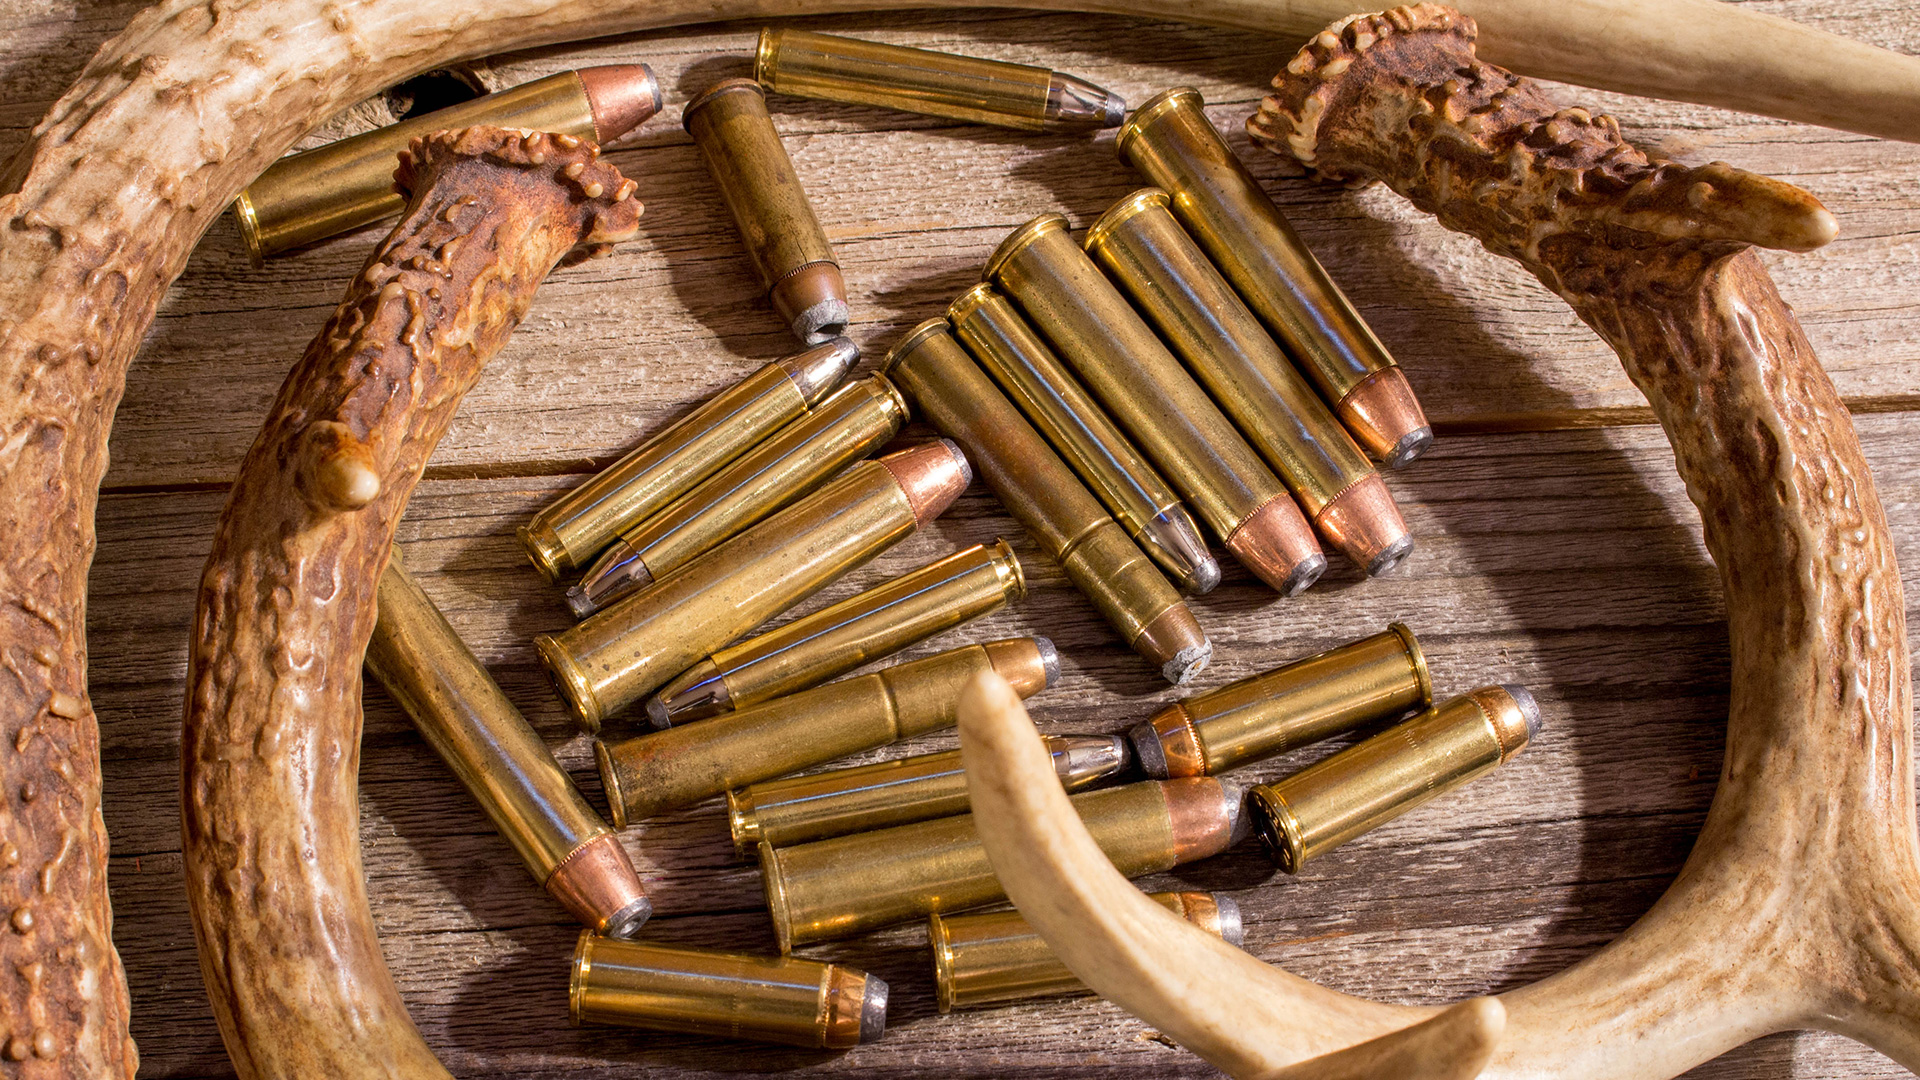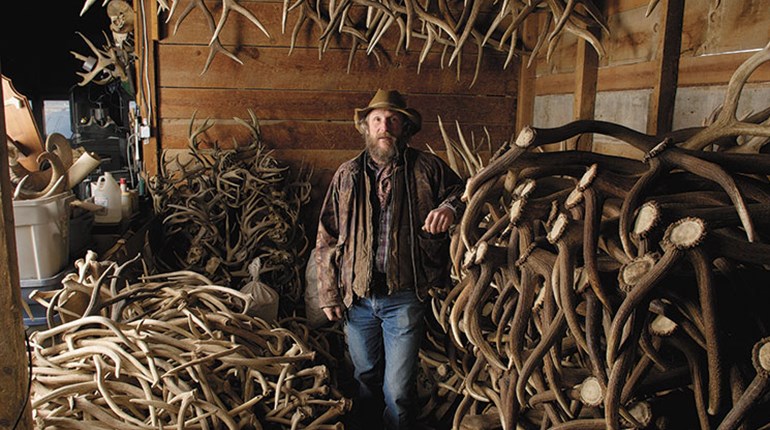
Delirious with cabin fever, I looked at this big wooden box of antlers in my office and thought that while some are keys to great memories, others would be more charming as door handles, slingshots and salt-and-pepper shakers. I then did what I always do to sober up before attempting a project—I had a YouTube binge. I saw all these bored sportsmen making all sorts of things with antlers. Before long I was making a mess with a drill and reciprocating saw. It felt cathartic.
You see, I was brought up on the belief that antlers are sacred relics. But once I realized that making a so-so buck’s rack into a knife handle is at least as complementary as letting it gather dust this taboo faded away. Soon my not-so-cherished antlers started to become useful things. Well, useful maybe, but aesthetically pleasing, not so much. I found that necessity may be the mother of invention, but cabin fever is certainly the father of antler inventions—even if all of us aren’t gifted artisans. So, being a journalist nutty enough to actually do what he writes about, I started interviewing master artisans who work with antlers. Here is some of their advice.
Coffee Table Legs
The bad news is you’ll need a lot of antlers to make this work. The good news is you can’t mess it up, as it’s supposed to look like a mess.
Glenn Eilders (antlerandwoodcreations.com) stressed that you need to wear a respirator when cutting or drilling into antlers, as the dust can cause lung infections. After getting the proper safety equipment, what you’ll first need for this project is a glass top. The easiest way to get one is to buy a used glass-topped coffee table and discard those vulgar store-bought legs. Now pile up your antlers to see what works best and drill and bolt your way to the coffee table of your dreams. Use epoxy putty and a stain that matches the antlers to hide the nuts and bolts. Eilders says this isn’t very hard, just time consuming. Leveling the four legs is the hardest part—well, after convincing your spouse it’ll look good in the den.
Salt-and-Pepper Shakers
These are actually easy to make with an electric drill. First you’ll need a good vice and two antler segments that are relatively straight for your desired length (2.5 inches is about right) and that have a large enough diameter.
Wrap the antlers in a towel or with foam to keep the vice from scratching them. Lock the antlers in the vice and use a hacksaw or reciprocating saw to cut the antler. Next, use a 1/16-inch drill bit to drill holes about a quarter-inch deep in a pattern into the antler end. Unlock the vice and flip around the antler segment. Use a rotary rasp to carefully drill out the center. Use a bit that allows you to leave walls about 3/8-inch thick. Stop often and use a flashlight to check if you can see light coming through the holes you drilled for the salt or pepper. Use cork stoppers to plug the bottoms. You’ll find cork stoppers in your local craft store. You can use white enamel paint to write an “S” or a “P” on each.
Slingshot
A big mule deer fork is ideal, but any forked antler will do. You want the fork to be large enough to hold comfortably. An uneven slingshot will be difficult to shoot accurately.
Measure and cut the antler to the desired length. For the band, I used surgical tubing. Eilders sands the fork ends and pulls surgical tubing over the ends. I followed this method. It’s the simplest way and it is the same method used on the Wrist Rocket slingshot I had when I was 8 years old. You can buy latex surgical tubing online and in some drug stores. To make it even easier, you can buy slingshot bands from many retailers. They sell for around a dollar apiece. My son is only 2 years old now, but he’s going to thank me for this antler slingshot in a few years and I’m going to so regret it. But I can’t wait.
Knife Handle
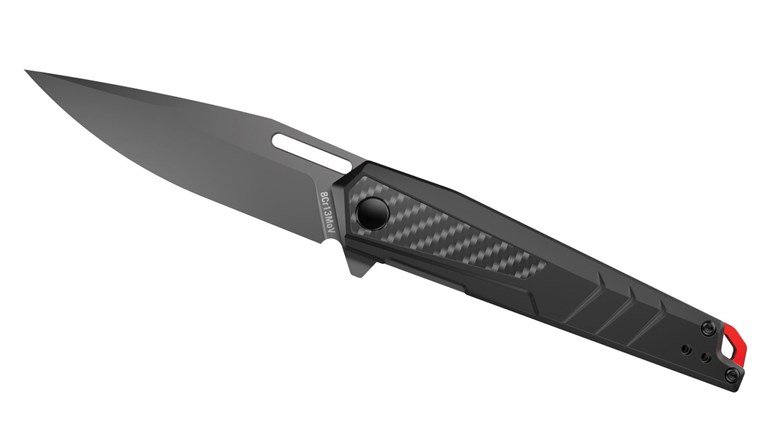
You can do this for letter openers, wine openers and backscratchers, too. Start with a fixed blade knife you like that has a handle you’re not so fond of.
Detach the handle. Chose your antler section and cut it out by placing it in a vice and cutting it with a hacksaw or reciprocating saw. You’ll next need to drill out the center to fit the knife’s tang into the handle. Knife tangs are made in so many shapes and sizes that you’ll just have to work with what you have (cheaper knives typically have shorter and thinner tangs, whereas quality knives often have full tangs). A drill press is the proper tool, but you can lock the antler section in a vice and use a hand drill. Use epoxy to secure the tang in the antler handle. You can rob cheap knives of parts to add a guard, pommel or whatever appeals to you.
Bookends
This works well for smaller antlers. Cut two 8-inch sections of a 1x6- or 1x8-inch board. Finish the boards as desired. Use three wood screws to attach them in an L shape. Sand a small, flat area on each antler where they’ll touch the wood. Epoxy bonds well with dry wood and bone. Glue a cut section of felt or rubberized fabric to the bottom of the bookends to keep them from sliding.
Belt Buckle
Large antlers, such as sheds from an elk or moose, are ideal for this project, but the base of a good whitetail antler will work. Lock the antler in a vice and use a hacksaw or reciprocating saw to slice off the “knob” where the antler attached to the buck or bull’s skull. Don’t cut it too thin, says Eilders, as it’ll be easier to sand down without breaking it. You can coat the antler piece with polyurethane or decorate it as desired. Drill two or three pilot holes about 1/32-inch smaller than your screw threads into the back of the antler belt buckle. Attach the belt hardware (available at most craft stores) with the screws and a little epoxy.
Gun Rack
A gun rack can be constructed of two deer antler forks, which are secured to the wall with nails or wood screws. This same arrangement can also make a good coat-and-hat tree, provided you sand down the antler tips so they won’t poke holes in your jackets.
Candleholder
You can make a candleholder centerpiece for your dining room table by drilling one or more candle-sized holes partway through the antler. This is a project a non-hunting wife might not turn her nose up at—and it’s certainly less jarring than turned-up deer-feet coat hangers or the classic elephant footstool.


