Canning meat has a long history in North America. Early settlers didn’t have freezers, so canning was the only option, other than air drying. Jars were processed in a wood or coal-fired oven, and the heat is what prepared the meat and allowed the jars to seal.
Modern conveniences allow us to use pressure canners, which is the safest way to process meat. It ensures there are no bacteria that could cause food poisoning. Our forefathers likely had some canning that made them sick from botulism, but they didn’t have the option to can using pressure.
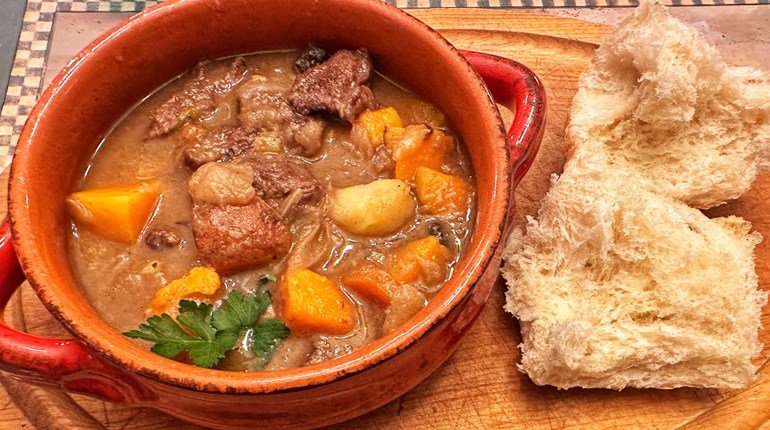
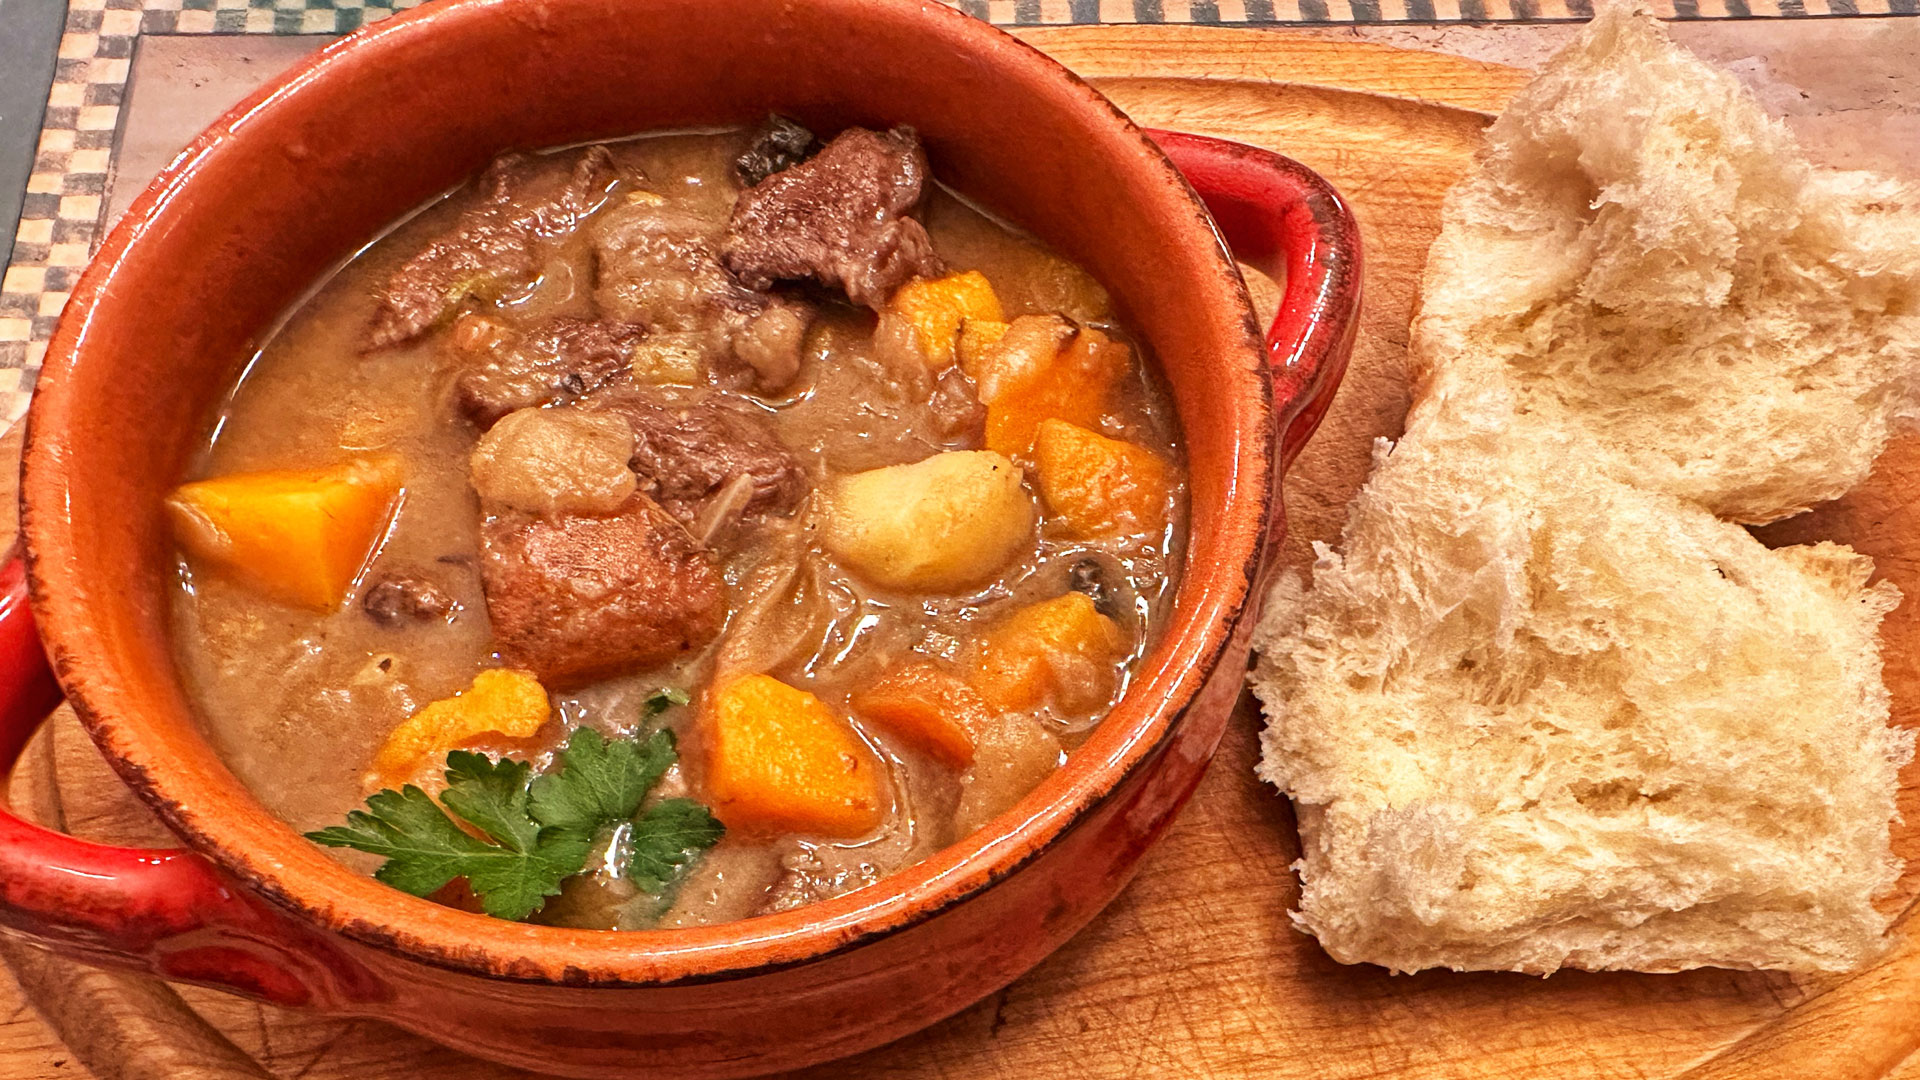
Canning meat is still popular today, as it allows you to store meat without being frozen. The canned meat is so succulent and tender, you could eat it right out of the jar, assuming all the safeguards were followed during the canning process. Canned venison is ideal for a quick meal in deer camp, as all you must do is heat it. It can also be transformed into stew, soup, or with a few more ingredients, stroganoff.
When you combine equal amounts of carrots, onions and celery when cooking a pot roast, the mixture is called a mirepoix. It is easy to use the same vegetables in the canning process for a product that tastes like a perfectly roasted piece of venison that will fall apart in your mouth.
If you haven’t tried canning meat, find a friend who has a pressure canner and give it a try. Chances are you’ll be experimenting with your recipes to take advantage of the robust flavors produced in the processed meat.
Tools Required
• Pressure canner
• Quart jars
• Lids and rings
Ingredients
• 4 lbs. venison, cubed into 1-inch pieces
• 2 large carrots, diced into 1-inch chunks
• 1 large onions, cubed
• 2 stalks celery, diced into 1-inch chunks
• 1 teaspoon salt
• ¼ teaspoon ground black pepper
• 8 cloves garlic, peeled
• 1 tablespoon beef bouillon paste
Directions
1. Trim the venison of fat and tendons, and cube into 1-inch pieces.
2. Loosely cold pack the raw meat into the quart jar, leaving 2 inches of headspace (you can pack the meat with your fingers). Add equal amounts of carrot, onion and celery to fill the jar leaving 1 inch of headspace. Do not add any liquid, as the meat will create natural juices during the canning process.
3. Add the salt, black pepper and garlic to top off the jar.
4. Screw the jar lid and ring on the ring finger tight, then place the jars in the canner.
5. All pressure canners have directions to determine how many pounds of pressure you need to use for proper processing and sealing. It is related to the elevation where you are canning. Refer to the elevation and corresponding pounds of pressure to set your canner for where you live. Add water to your canner to cover the jars about halfway up. Place the canner on a heat source and when it hits the right pressure, maintain it for 90 minutes.
6. Let the canner depressurize on its own and cool before removing jars.
7. Serve the canned venison hot or store it on a shelf for a later date.
*Where I live, at 2,000 feet, I pressure can with 10 pounds of pressure for 90 minutes.
For more delicious wild-game recipes, click here.


