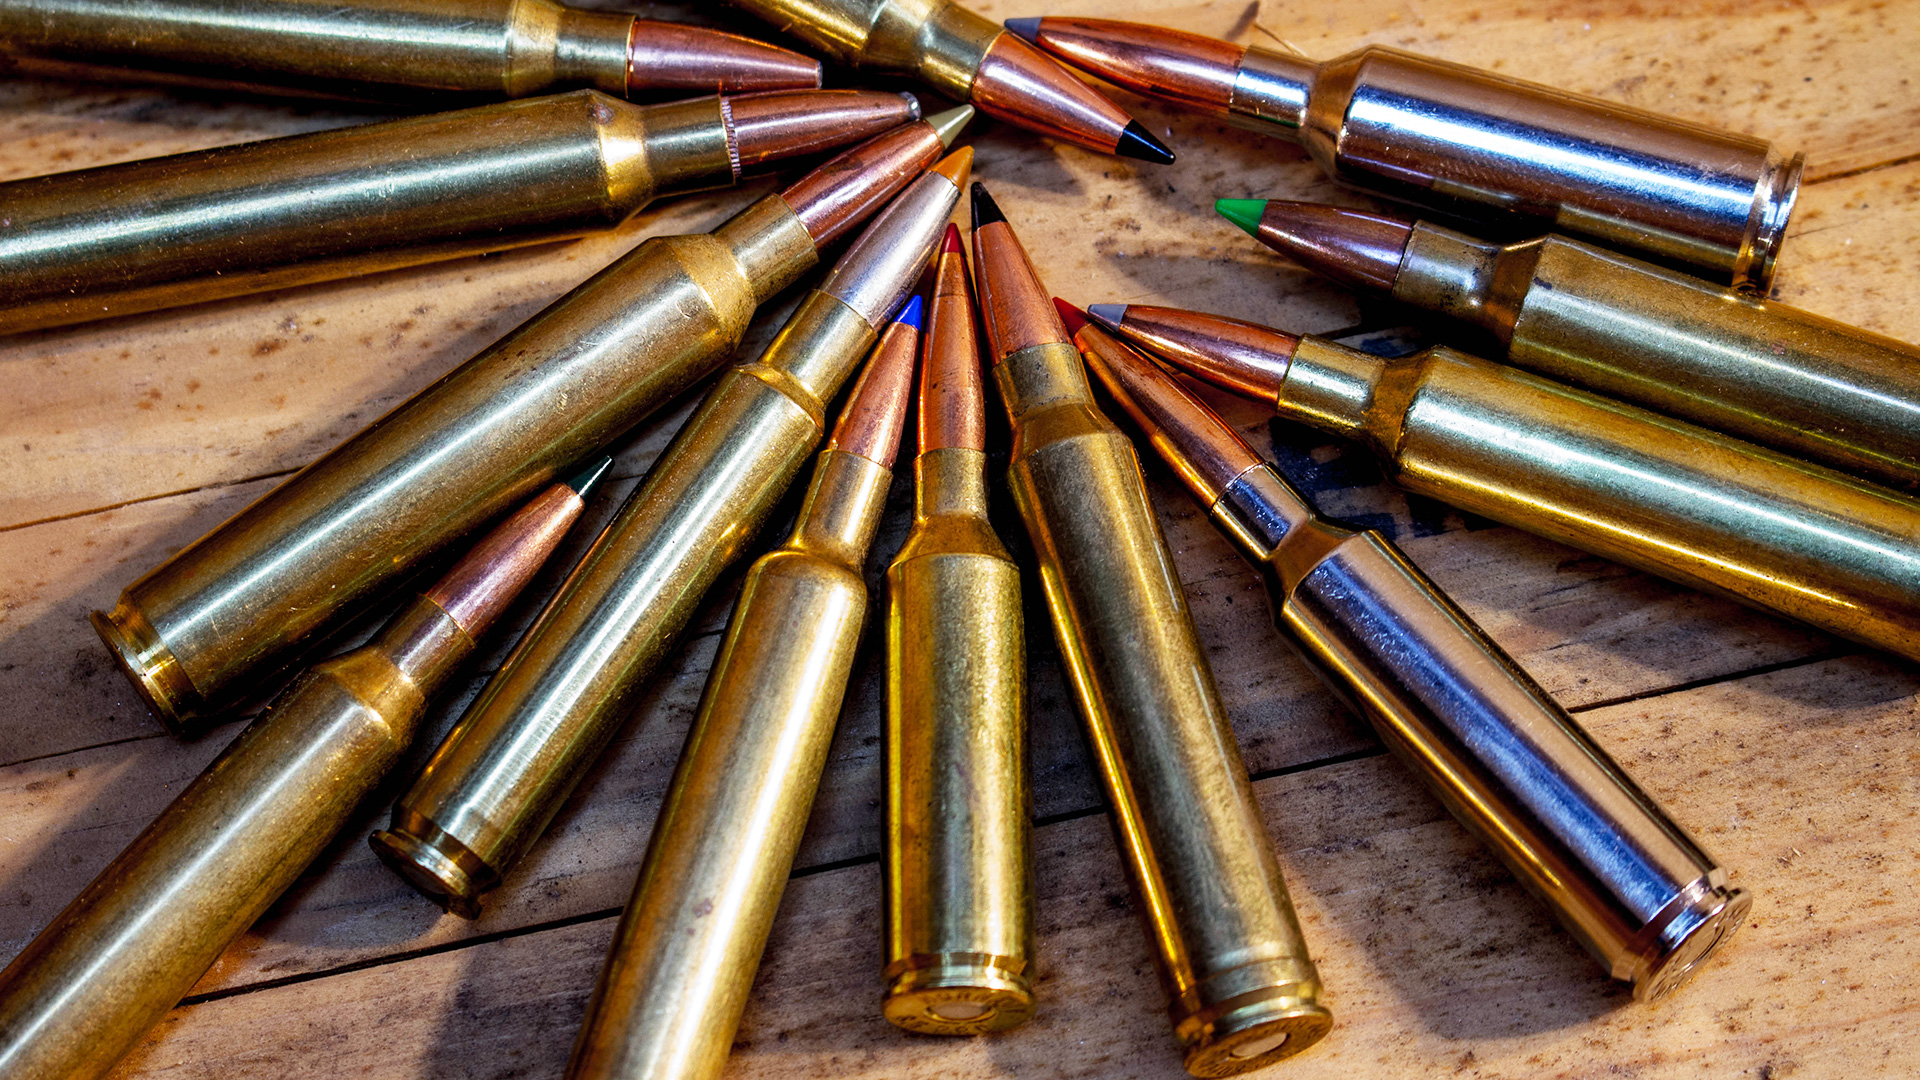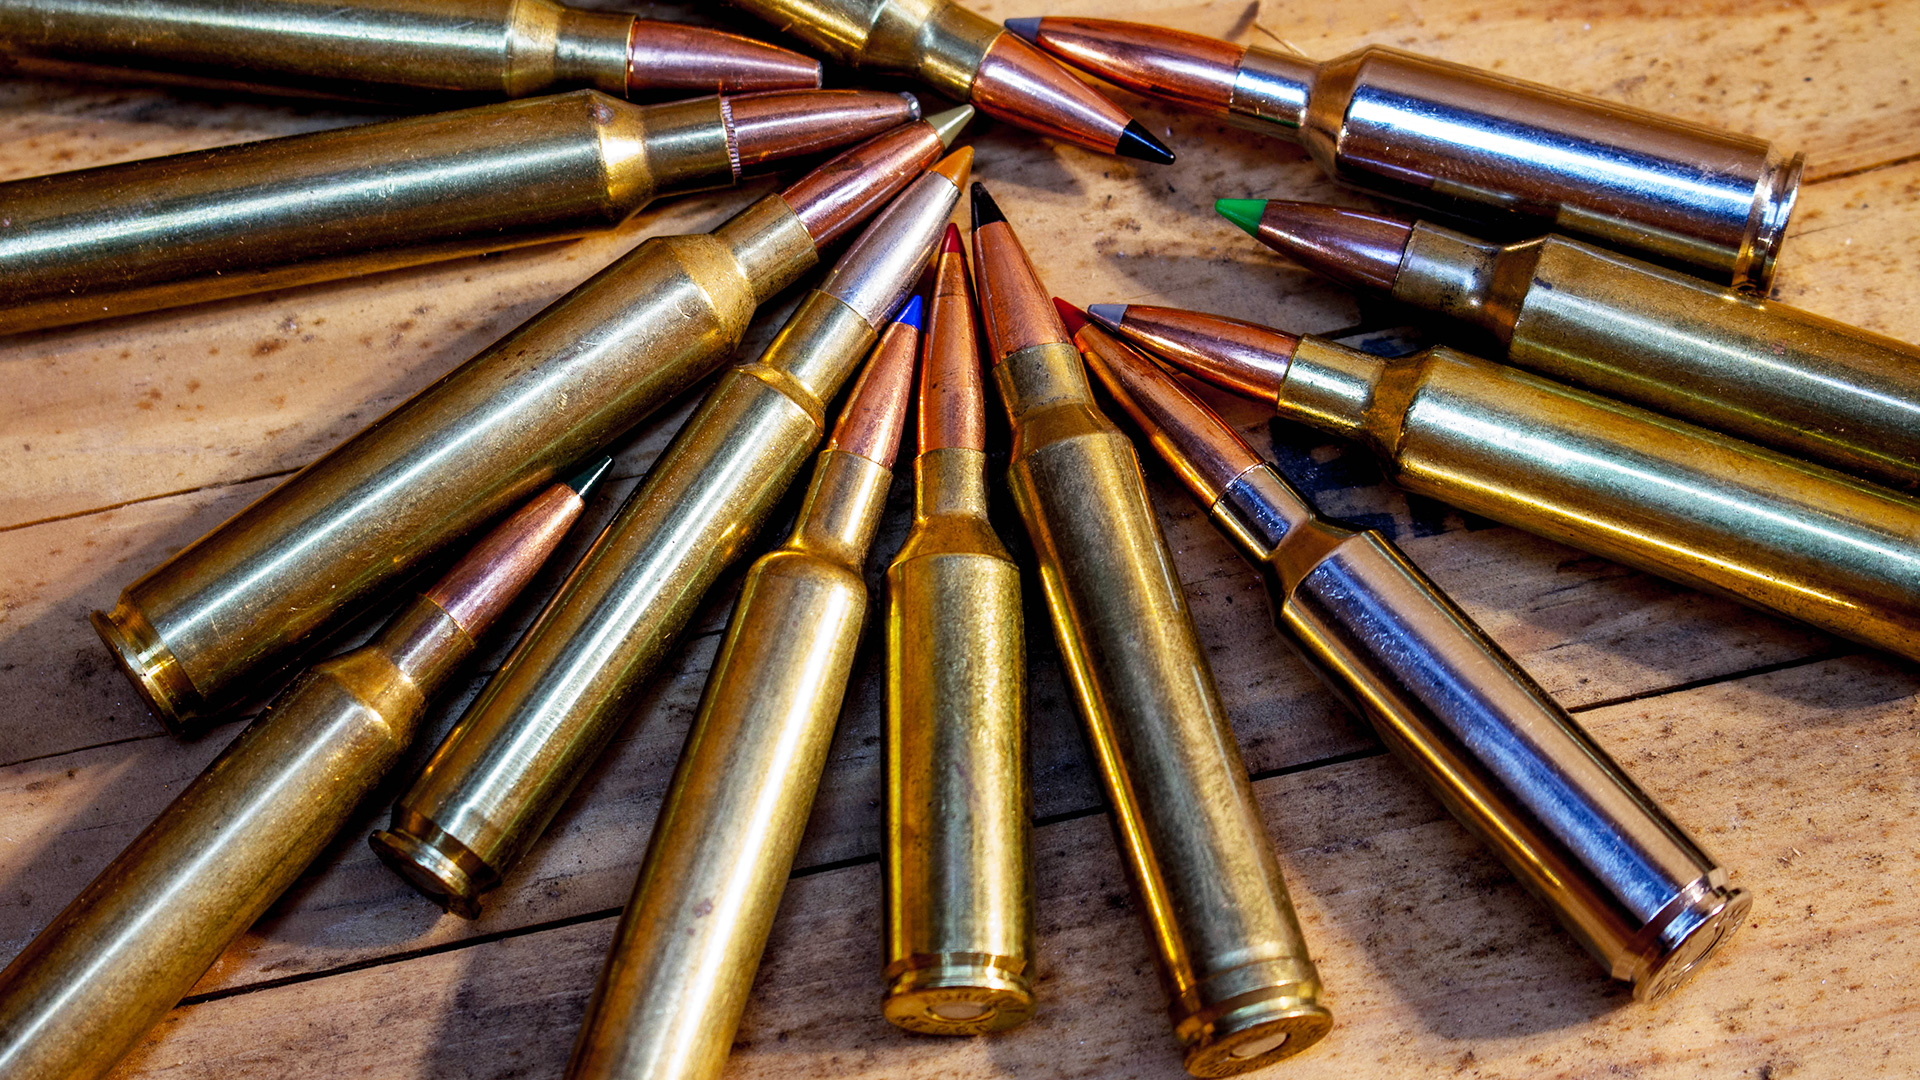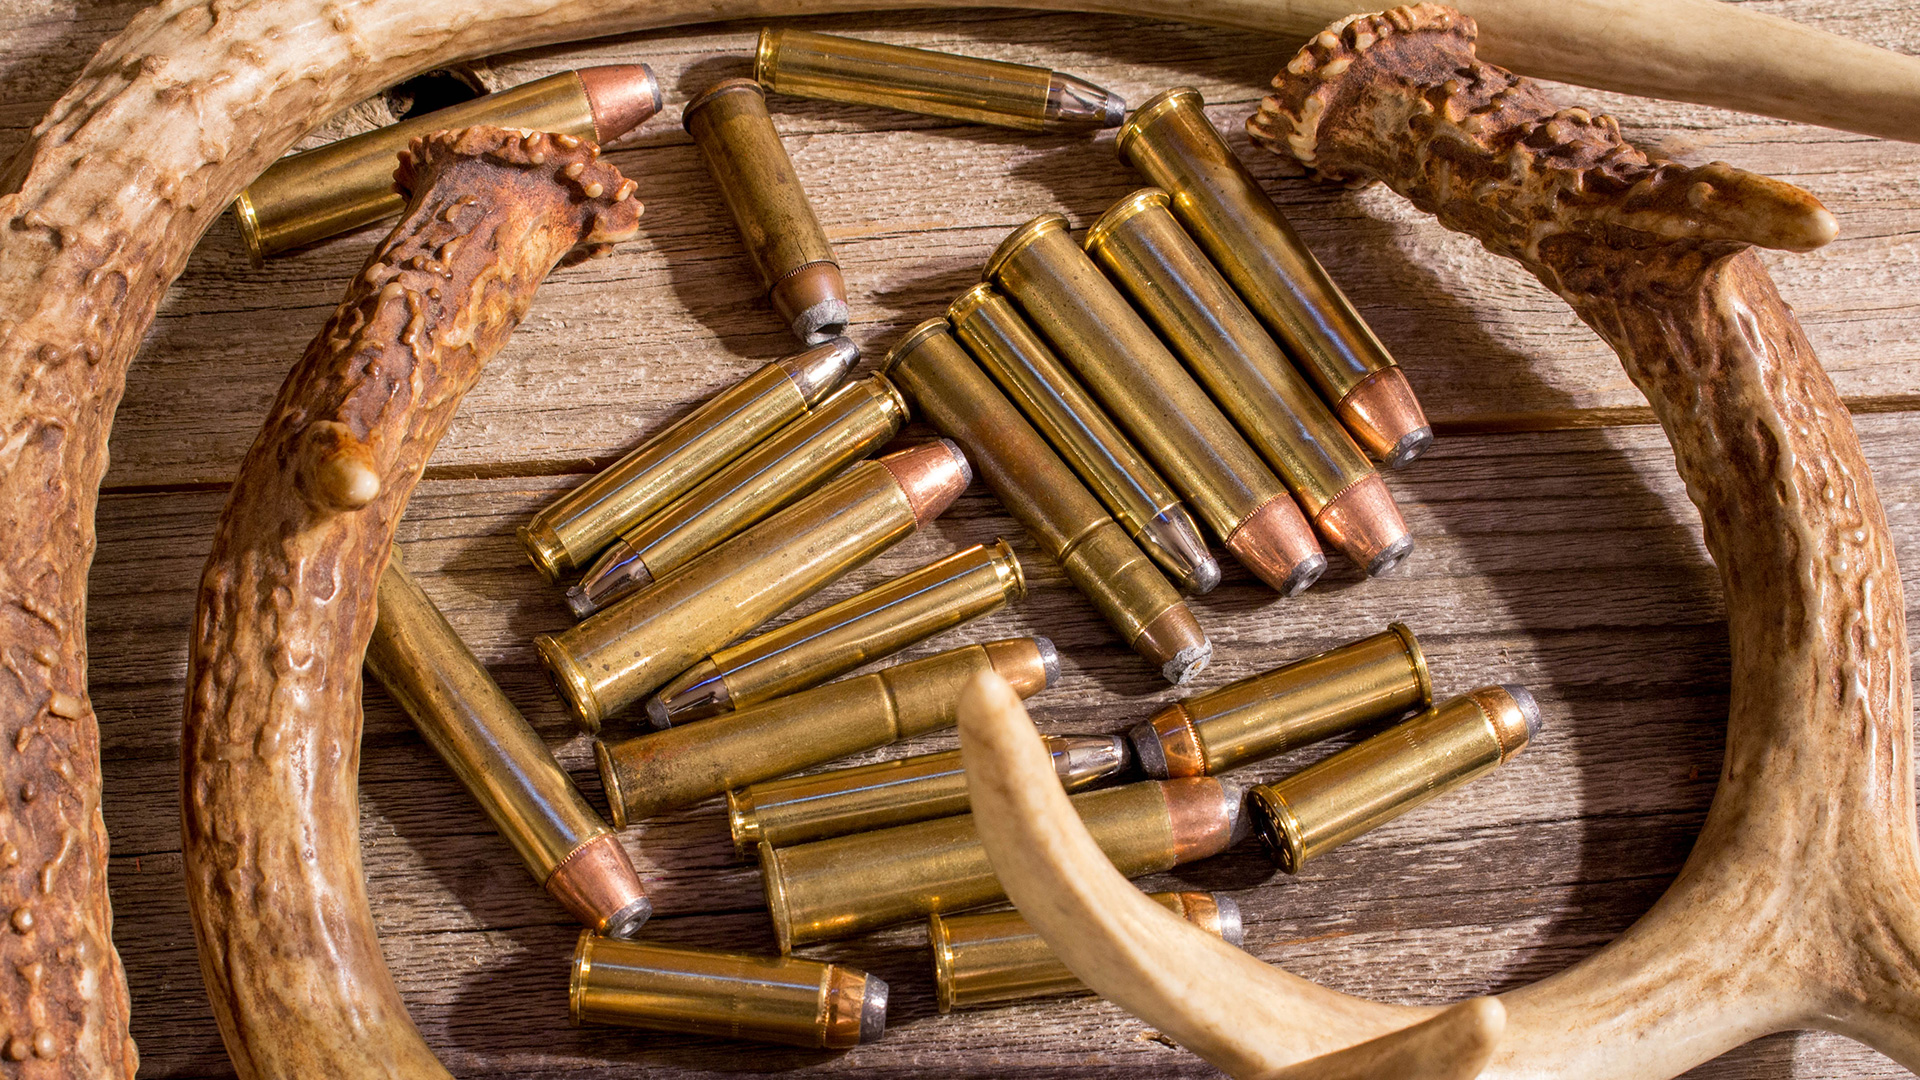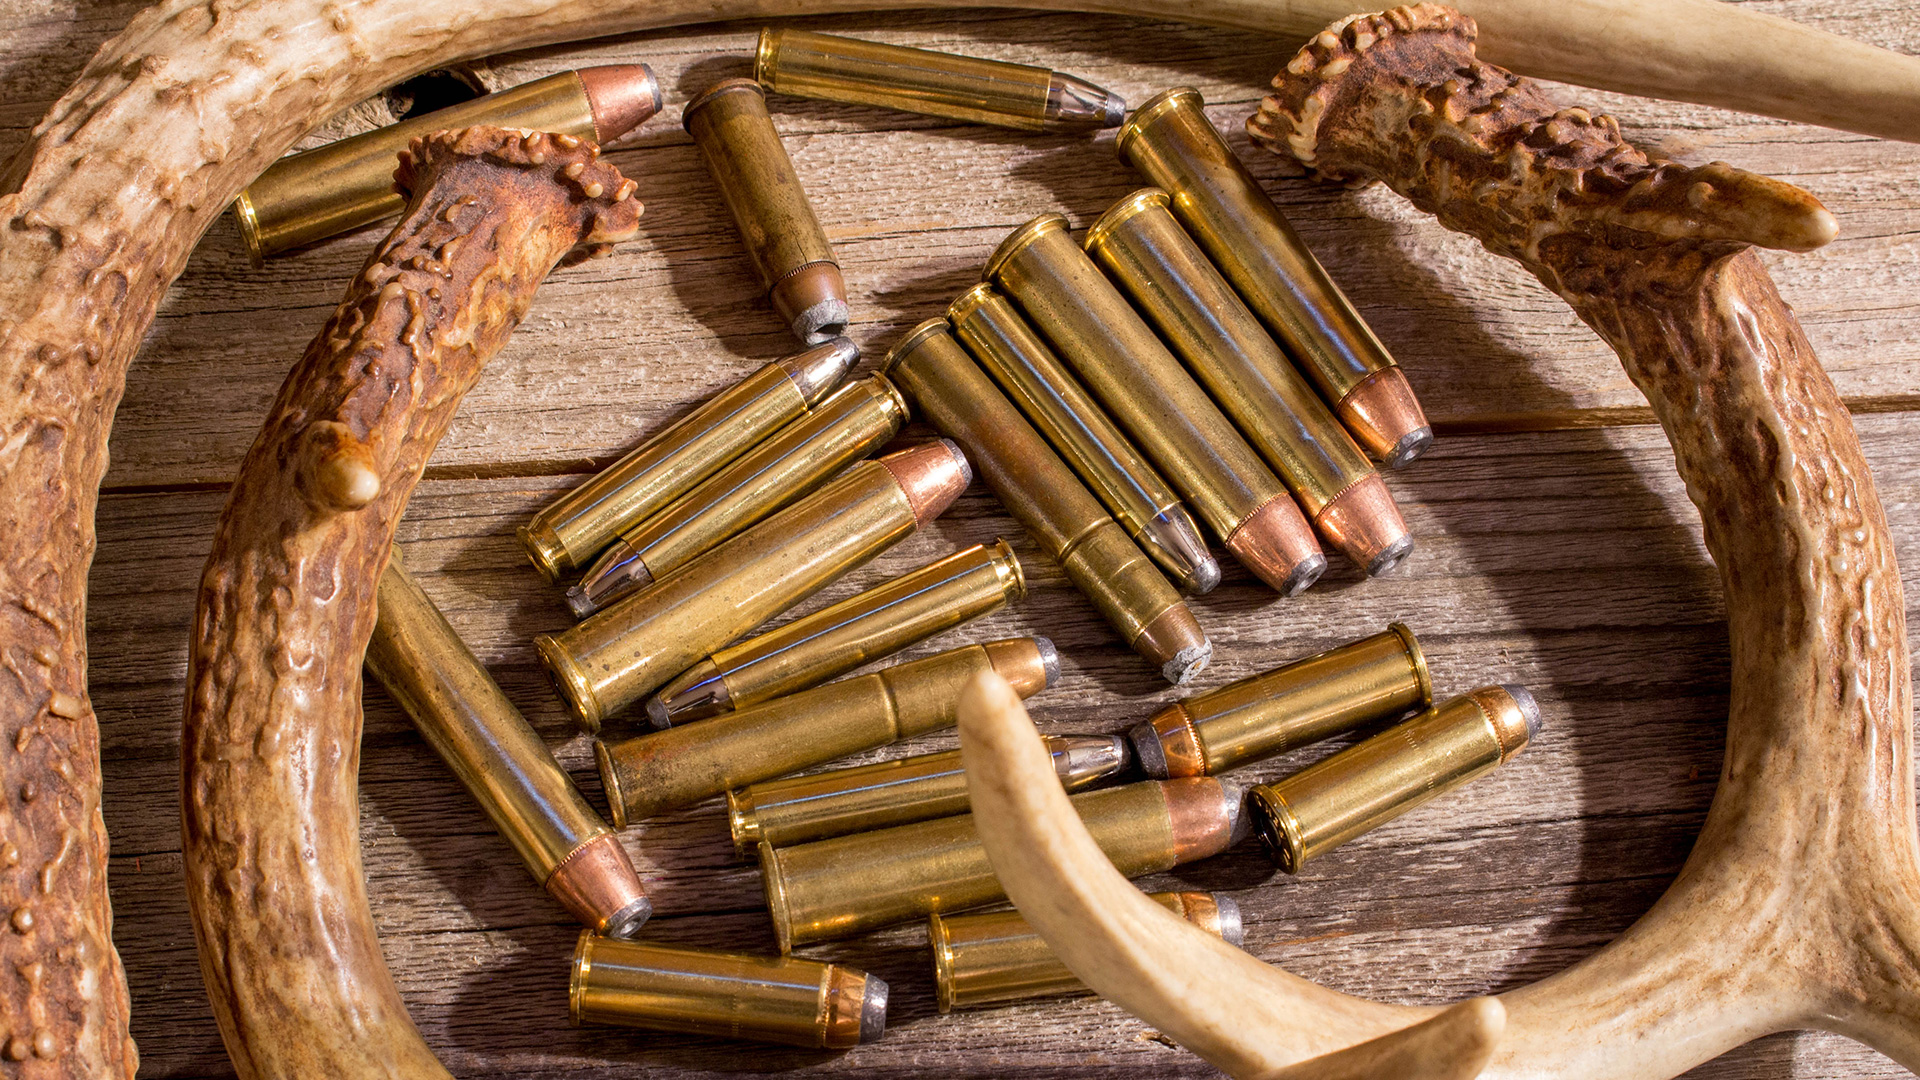
Gun guys love to repeat the same old platitudes. “Bring the gun you shoot the best” is one you hear a lot. The gist of the matter is that they are giving permission for the shooter to come unprepared. On a dangerous game hunt, that’s a recipe for trouble. I have a better idea: buy a gun that is proper for the job and then learn to shoot it well. After all, the gun you shoot best is the one you practice with.
Sadly, far too many shooters buy a big gun and shoot it a few times off the bench and then pack the rifle with their gear for the trip to Africa or Alaska. You have a lot invested in this hunt, both in dollars and emotional currency. Don’t screw it up because you didn’t learn your gun, or by bringing one that’s inadequate for the game hunted.

I know the soy-boy generation has made a dramatic shift to little cartridges. Gun dealers tell me that sales of belted magnums and even standard hunting cartridges have taken a nosedive in favor of short-action, sub-.30-caliber cartridges. However, when it comes to hunting dangerous game, there simply is no substitute for cubic inches. Big bullets with lots of horsepower behind them are the way to success. If a mean-tempered critter is prone to behavior that’s going to end with you in a bloody puddle, always bring enough gun. It’s kind of a no-brainer. Dangerous game hunting is no place to mess around or to try to prove something with a small cartridge. It may work, it probably will, until it doesn’t. The result won’t just be a lost critter, but more likely a dead human. You need a rifle chambered in an adequate cartridge and, even more importantly, you need to learn to shoot and operate that rifle well before the hunt.
Don’t tell me ammo is too expensive to practice. If you can afford to hunt dangerous game, you can damn well afford to buy enough ammo to get ready.
“But, those guns kick!” Yes, they do; anybody who understands physics knows that there is no free lunch. Big powerful cartridges do kick, which is one of the reasons to train with them. They might bruise your shoulder a bit, but they really won’t hurt you. At least not like a wounded Cape buffalo will hurt you.
The only way to get past the fear of the gun is to shoot it. It’s actually a lot of fun. There is a certain satisfaction in running a big boomer fast and well. Make sure you have a rifle that fits you and make sure its stock helps mitigate recoil. (See my article “How to Punch Back at Recoil” for tips on dealing with recoil.)
A big part of this training with a DG rifle is learning to deal with the recoil. Mostly that comes from shooting and realizing it’s not as bad as you thought it was going to be. Train on shooting well and fast, and train on gun manipulation; that is, how to reload quickly under pressure and how to clear a jam under pressure.
Since recoil is the bigger issue with most shooters, learning to deal with that is the first thing. Don’t try to fight the recoil, but learn to go with it. I once tore a ligament in my shoulder with a 3½-inch turkey gun because I tried to fight the recoil. Like a boxer, you must learn to roll with the punches. Shooting is a process and you must be an active participant. If you try to hold tight against the rifle and muscle the gun into behaving, you will just take an unnecessary pounding. Roll with the gun and then you take control over the movement of the rifle and get it back into shooting position. With practice you will learn to minimize muzzle flip and to get the gun re-charged and back on target quickly.

Stance is important, as is shooting position. In fact bad position is where you will get into trouble. I once sat with my rifle on shooting sticks for several hours waiting for a buffalo to move. My back is trash and, as usual, it was hurting and I was slumping. The buffalo took a step, my target became available and I pulled the trigger on my .458 Winchester. The scope hit me in the face and smashed an expensive pair of sunglasses. In the photos I looked like I had lost three rounds of MMA. But, I shot one hell of a buffalo!
Recently one of our shooters with a .375 H&H Mag. ran through a long shooting course and elected to drop to a kneeling position for his last shot. He was trying to steady the rifle and wasn’t paying enough attention to form. He was balled up behind the gun with his head too far forward on the stock and he didn’t have a good grip on the fore-end. The scope hit him in the face and he dribbled blood all over everything for the rest of the day. Always show respect to a big gun. It won’t tolerate anything else.
These training scenarios are mostly for magazine-fed, bolt-action rifles. However, we trained with double rifles too. We just changed up the targets and scenarios to fit the rifles.
Always train with a shot timer and record all the data. This helps identify problems and it provides a way to track improvement. Visuals are another great training aid. Have somebody video or shoot still photos of your shooting. The images often show little things that need improving that go unnoticed without the camera. We found a possible safety problem with my friend Bob Rose’s form while shooting photos for this article; he corrected it. Without the photos we never would have known.
I plan on burning a couple hundred rounds or more this year over the course of several months, just to stay in form, and I don’t even have a dangerous-game hunt planned for this year. Bob Rose is hunting buffalo and elephant in August. He had a custom .505 Gibbs built and we started practicing in March. By the time his safari happens, he will be ready.
Even if you never plan to hunt dangerous game, it’s fun to own and shoot a big-bore rifle. If you learn to shoot it well, you will be among giants. Grown men will envy you and pretty young lasses will swoon at your feet.
Here are some of the training stages we use. The Proctor Fish and Game (my club) range is rather small, so we have created stages to fit the space.
Front to Back
For this drill we place targets at 30, 20 and 10 yards and stagger them a bit side to side. I use targets with an 8-inch bullseye. That is more or less the critical kill zone of most dangerous game. Six inches would probably be better, but I had several hundred of the 8-inch targets. I put them on a cardboard backer and use portable target stands where needed.
Load three rounds. Start with the far target and with the rifle at low ready and the safety on. At the buzzer, shoot the 30-, 20- and 10-yard targets in that order. Reload three rounds and reverse to shoot the 10-, 20- and 30-yard targets in that order.
Work on hitting each target, but going fast. The main thing here is the reload, measured by the timer as the time between shots. So the time accounts for ejecting the empty, positioning the rifle, reloading the magazine, closing the bolt, getting back on target and firing another shot. Most shooters will record around 15 to 20 seconds to start. A fast shooter with a bolt action will do it in about 10 seconds. Anything faster is impressive.

Practice loading from the way you plan to carry extra ammo during your hunt. For example, in these drills I used a Galco culling belt. After several runs I cut reload times to nine seconds and change. My goal is to get below eight seconds. Of course, my goal has always been to be rich. Neither will probably ever happen, but it’s something to work for.
The other important times are the splits between shots. This indicates how well you are controlling the rifle. Clearly, the cartridge and rifle have some effect on the numbers. I am a little faster with my .375 H&H than I am with my .458 Lott, simply because I burn up more time dealing with the recoil from the big gun. It’s best to try for splits less than three seconds. Two-and-a-half-second splits are very good. Two seconds is a goal.
Top-Off Drill
During any safari you are probably going to have to “top off” under stress. For example, you just shot a buffalo and he ran off, but you can hear him in the brush and you need to catch up and end it fast. The PH is going to call for you to “top off.” That means to load your gun back to its full capacity.
When you top off, the cartridge in the chamber is going to be ejected as you open the bolt. You need to catch it and reload it into the magazine. Again, there are several methods. I open the bolt and block the cartridge from ejection so that the bolt stops in the rear position with the cartridge held in the extractor. I then push it out of the extractor and into the magazine.
Following that, the magazine is loaded to capacity with cartridges taken from the culling belt. I have polished the extractors on my controlled-round-feed (CRF) big bores so that I can single load and the bolt will close over a shell that is inserted into the chamber. This allows a cartridge in the chamber over a full magazine. I slide the final cartridge into the chamber and, holding down the cartridges in the magazine, close the bolt.

Not all controlled-round-feed guns allow this, as the extractor may not slip over the cartridge rim when single loading. Attempting to do it with a gun not modified to load single rounds can damage the rifle. In that case just fill the magazine and close the bolt, allowing the cartridge to feed from the magazine.
Of course, none of this applies to a push-feed rifle.
“Push-feed for dangerous game? Isn’t that a mortal sin or something?” To be honest, it’s another thing gun guys all spout without much thought or experience. Yes, a controlled-round-feed is probably better, at least in theory. But a push-feed gun will treat you well if you just run it properly. I have used push-feed plenty of times on Cape buffalo, leopard, hippo and brown bear. I had one problem on a moose hunt many years ago. If you think a wounded moose is never dangerous, you clearly were not there that day. I short-stroked the gun and jammed it up so bad we had to get a big screwdriver and a hammer to clear it. Luckily another hunter was there with a .375 H&H or I suspect I would have permanent moose tracks embedded in my skull. The problem was all me. I was young and inexperienced and trying to go fast without ever practicing. It’s never happened again.
… So, back to the drill …
Place a close and far target. Say 10 yards and 50 yards. I place them linearly, due to our narrow range. If you can spread them out laterally it adds another degree of difficulty.
Start with the rifle at low ready and the safety on. At the buzzer, shoot three times at the close target, and then run to the far target while reloading your rifle back to full capacity. (Let’s be honest, with this COVID-era weight gain, I waddle more than run, but you get the idea.) Stop when the gun is loaded or at 10 yards, whichever comes first. As soon as the gun is operable, fire one shot at the far target.

You want to shoot three times at the first target to get your adrenaline going as much as to empty the magazine. If you fumble a shell and drop it while reloading, never stop to pick it up. Grab another cartridge and keep loading.
Here, again, we are looking for reloading times as you top off while on the move. Most shooters will record 30 seconds or more to start. With some skills, 20 seconds is good. Fifteen is excellent. My goal is 10.
Off the Sticks Drill
On any Africa safari you will be firing your initial shots “off the sticks.” The PH or one of the trackers will be carrying sticks to make a tripod. When you are ready to shoot he will step ahead of you and set up the sticks to support the rifle.
It’s important to practice shooting off the sticks while standing up. It’s a lot harder than you think and that first shot is the most important. I ordered a set of Primos Tall Trigger Stick Gen 3 Tripod Shooting Sticks to practice with. This is a high-tech version of the homemade tripod sticks you usually encounter in Africa.
One school of thought says to push against the sticks and “load” the front leg with some tension, but after experimenting we found that just resting the gun on the sticks without loading the leg is more stable. Try both methods and see what works best for you. Remember that these DG guns recoil hard and will have a lot of muzzle rise. So, make sure you are controlling the front of the rifle as you shoot or you may be eating scope for lunch.
This drill is easy. Place a target at 100 yards. Fire five careful shots at the target. Take your time; accuracy, not speed, is the primary goal here. Still, in a hunting scenario you must achieve accuracy fast. As you progress and are shooting well, work on improving your time. Twenty seconds is pretty good, five shots in 15 seconds is very good.

Measure the group from center to center of the widest shots. It’s a well-kept secret that big-bore rifles are very accurate and most are MOA guns. I can tell you right now, your group will be bigger. Eight- or 10-inch groups are not unusual the first time you try this.
With practice, 4 inches is pretty good. Three inches is excellent. My goal is 2 inches. The guns are capable, so the weak link is the shooter.
Off The Sticks Part II
One other thing to work on is getting that first shot off quickly. This is a very important drill. If you make the first shot well, you won’t need all that fast shooting and reloading … probably.
Start with the fully loaded gun in your hands at low ready and the safety on. Set up the sticks in front of you. At the buzzer, place the gun on the sticks and fire one round at the 100-yard target. With an 8-inch bullseye, only hits count.
Most shooters will take six seconds or more. If you get it down to three, you are good. Two seconds and you are a god.
You can practice this with your deer rifle so that you are not dealing with the recoil or expensive ammo. But, once you have it well in hand, switch to the DG rifle and learn to do it with full-power ammo. You can get away with bad form with your 6.5 Creedmoor, but a big bore will set you straight.
Sticks III
Another variation is to fire the first shot off the sticks at a 50-yard target then shoot the next shot freehand at the 10-yard target. This simulates a fast follow-up on a moving target. Again, three-second splits are pretty good; 2.5 seconds is better.
Reduce Recoil During Practice
The truth is big-bore, hard-recoiling guns can wear you down. My last practice session was too much, with 60 rounds in a couple of hours. It left me with a stiff neck for a week, mostly because I don’t bounce back like I did as a young man.
I like to start and end each training session with full-power loads, but you can get a lot more trigger time with reduced-recoil handloads the rest of the time. Hodgdon has instructions on their website for loading reduced-recoil loads with H4895 or Trail Boss powders.
Trail Boss, however, is temporarily off the market so it may be hard to find. For that matter, any powder is hard to find right now, along with other components. Some custom loaders still offer low-recoil ammo. It’s worth a little search engine time to look.
Vet the Gun
You want your rifle to be 100 percent vetted before packing for the trip. Lots of shooting will find the weak links in the chain.
Cracked stocks are probably the No. 1 issue. My .458 Lott came with a beautiful walnut stock, but it had two flaws. The design was terrible and it kicked the snot out of my sinuses every time I shot the gun. The other flaw? The stock cracked during every shooting session. I fixed it twice, and then I replaced it with a Bell and Carlson synthetic stock. It’s not as pretty, but I haven’t had any problems after 100-plus full-power rounds through the setup so far.

Scopes are another weak point. Only the best quality optics will hold up to the repeated pounding of a big-bore rifle, so don’t cheap out. Still, the best can fail, too. Usually it’s just the individual scope that has a problem. Once it’s replaced I don’t often see further problems with a high-quality scope. It’s better to learn this on the shooting range rather than during your safari, as happened to me. I once took only one gun to Zimbabwe and the scope failed. Luckily it was late in the safari.
It’s best to attach the scope mount base using larger No. 8 screws as opposed to the industry standard No. 6 screws. Any gunsmith can re-tap the holes to No. 8 and convert your rifle. There are other techniques, like using epoxy on the mount to glue the base to the action in addition.
Lapping the rings will increase their holding power because this creates more contact with the scope surface. I also put a little powdered rosin on the rings to help keep the scope in place. I highly recommend that you have your scope mounted on your DG rifle by a competent professional gunsmith. This is not a good place for DIY.


