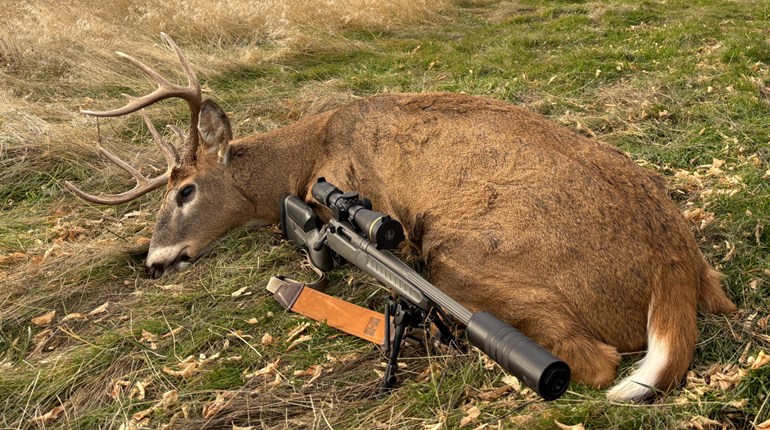
The buck’s head and hide still sit crammed inside my freezer, leaving little room for food and making my wife more irritated by the day.
“When are you going to get that thing out of there?” has become a constant refrain in my house. It’s been there since I shot the deer back in November.
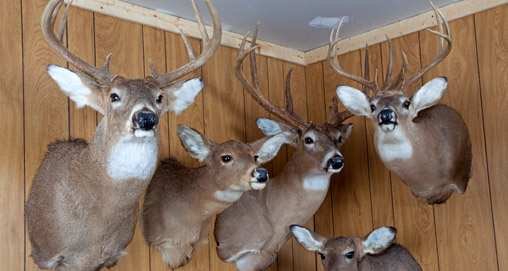
For every other hunter out there, the middle of summer means taxidermy is probably the furthest thing from your mind. However it’s actually a good time to consider what you’ll do this fall when your trophy is on the ground. When the biggest buck you’ve ever shot is lying dead at your feet you won’t have time to wonder where to find a good taxidermist and what you should do with the animal to preserve it forever.
“It’s surprising how many hunters wait until they kill a nice buck before they consider who they’re going to get to do the taxidermy or even think about how they need to skin the deer,” said David Sichik.
First things first. Let’s choose a taxidermist.
Choosing A Taxidermist
Finding a good taxidermist should be done well before opening day of the season.
• Every hunter has seen work that he or she likes. Talk to your friends to find out who did their mounts and visit recommended taxidermists. Check out a few sportsman’s shows in your state, where mounts are on display or taxidermy competitions are being held. You can bet the winners do good work and are worth a look. And don’t feel like you need to stay local. The best taxidermist for you may live several states away. Websites and shipping all make a quality distant taxidermist worth considering.
• Sichik suggests that after identifying several taxidermists you’re interested in, visit their shops (if local) and look at some of their work first hand. Find out how they prefer to receive the hide and antlers and whether you are required to drop it off personally or can ship it. Discuss average turnaround times for getting the completed work back, as well as costs.
• Don’t, however, let costs and time be the primary factors that influence your decision. The deer they mount could be the biggest you’ve ever killed and may remain so for many years to come. The first consideration is quality work. If it takes a little longer or costs a little more, it will be worth it.
• Select a pose for the future mount. Consider what you have hanging on your wall now and where you will place the next trophy to help you decide whether the deer should be looking left, right or straight ahead. Depending on the deer, you might want a full body mount or just a European mount.
• Once you’ve selected a taxidermist, keep his contact information handy. When the magic day comes that you do have that buck on the ground, you can call him right away to begin making the necessary arrangements for your buck.
In the Field
Ensuring you have a good mount to display for years to come begins with proper care in the field. Sichik offers the following tips:
• Once you’ve located and tagged your downed deer, get it out of the woods and field dressed as soon as possible. The instant the animal dies, bacteria begins going to work on the body, which can ultimately affect taste and hair slippage.
• Drag the deer as little as possible to protect the hide. If you can get an ATV to where it lies and lift it straight on, then do it. If not, drag from the antlers only so the hair will slick back. Raise the animal while dragging as much as you can, lifting the chest and as much of the front legs off the ground as possible.
• If it’s warm and you have to wait for help or a ride, field dress the animal right there and keep the body in the shade. Do whatever you can to reduce the amount of heat on the body.
• When field dressing or hanging to gut, never cut the hide past the brisket. Better to reach into the body cavity and pull the vitals out than to keep cutting forward, which can damage a hide you intend for a shoulder mount. “One of the biggest mistakes hunters make is cutting too far up on the animal,” said Sichik.
• Tube roll the hide toward the neck, working it all the way down, cut the front legs just below the knee and peel the hide from the legs. Then cut the head from the body, hide still attached at the neck. Unless you are skilled at caping, you are much better off leaving the skull in the cape and letting the taxidermist finish the work. Cutting around the delicate eyes, ears, mouth and nose can damage a cape unless you really know what you’re doing. By having the neck still attached, Sichik says he can get more accurate measurements for the form, which will ultimately make for a mount most representative of the actual buck in the field.
• Take photos of you with your deer as soon as possible in the field and share them with the taxidermist. “Deer will begin to lose some of their natural color around the eyes and mouth within an hour of being killed. I like to see what the deer looked like in the field, when it still held its natural colors so I can get the mount as close to that as possible,” said Sichik.
At Home or Camp
As soon as you have the animal skinned, don’t drive the hide and horns around the county in the back of your truck. The sunlight and heat can further damage the hair, speeding up slippage. Instead follow Sichik’s advice:
• If you’re going to freeze the hide, there is no need to salt it. Lay the hide skin to skin and fold or roll it toward the head laying the head alongside the hide, not wrapped inside. “The hair on the face can freeze to the inside of the hide and pull out when being moved,” says Sichik.
• For temporary storage in a freezer, the hide and head can be placed inside a dark trash bag, but only for freezer storage. If transporting a head and hide unfrozen, place it in a burlap or cloth sack that can breath, so that moisture in the hide can escape and aid in drying.
• While a hide can honestly last years in a freezer and still be ok for mounting, don’t bank on it. Power outages, poorly operating freezers and other situations can lead to some thawing and refreezing of the head, which isn’t good. Strive to get it to the taxidermist as soon as practically possible.
• Lastly, if shipping a head, make sure it’s frozen solid first. Pack it carefully in a large box with plenty of bubble wrap or paper around it so it won’t poke through the box. Always send overnight or two-day express on a Monday, so there are no issues of a lost head thawing and bleeding out in a box over a hot weekend.


