As a full-time outdoor writer for several decades now, I have spent a lot of time testing guns at the shooting range. In most cases they are new guns that I have just mounted a scope on before heading to the range. That means I have zeroed hundreds, perhaps even thousands of guns. I think I have tried every possible way to do this, but have now refined it down to a simple, repeatable approach.
The best distance is 100 yards. Most ranges are set up for this and it’s easy to make the adjustments at that distance to achieve the zero you prefer for your hunting style.
Make sure that the scope is bore sighted. If in doubt, shoot at 25 yards to get in on the paper. It helps to have a big backstop like a 4X8 sheet of plywood. Cover this with newspaper or other material. I often just tack up a bunch of targets with their edges touching so there is no space between them. This works well as I’ll need them as the rifle test progresses anyway. If you are pretty sure the gun will hit paper at 100 yards, one target might be enough. The key is that you need to find the bullet hole from the first shot of record.
If the gun is clean or new, it’s not a bad idea to fire a shot or two off the target to foul the bore and settle the gun.
The only way to zero any firearm is to shoot from a solid rest. It’s not a test of your shooting ability; it is an adjustment process for a precision instrument. You must eliminate all human error and your skill, or lack of it, should not affect the outcome. Always use a shooting bench and sand bags or other appropriate rest. Rolled up blankets or a backpack are a poor choice. Either use a commercial rest or make some sandbags. Support the foreend of the rifle as well as the buttstock. Never use a hard rest like a board.
Regardless of what you use, you must support the forearm, never the barrel of the rifle. You must also support the toe of the stock near the butt.
Your job is to aim the rifle and then pull the trigger without disturbing that aim. You should not support the weight of the rifle in any way, let the sandbags do that. When you try to hold the gun you introduce movement.
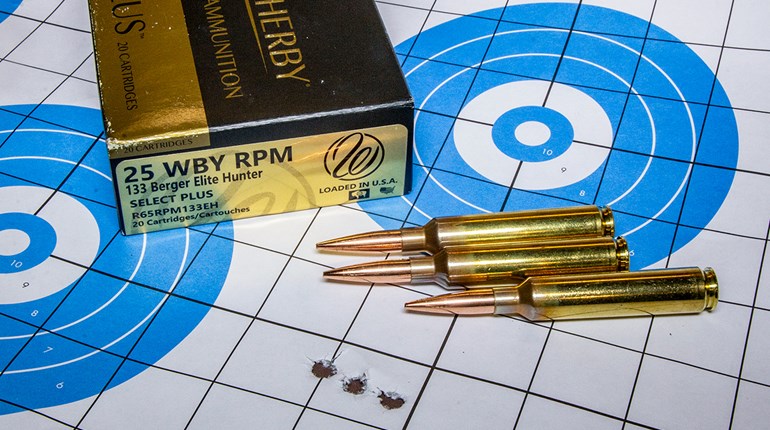
Set your scope on its highest power. Aim for the center of the center target. Carefully fire three shots. If you only fire one shot and you are flinching, or if the gun has some problems that are affecting accuracy, you can spend all day chasing bullet holes and never get the gun zeroed. Three shots will shine the light of day on the problems by showing up as a big group.
If the group is as expected, something under two inches, you know the equipment is functioning correctly and that you are shooting correctly.
The bullet holes should be on the paper. If not, move the target closer, or add more paper to increase the surface area.
Use a straight edge and a Sharpie to make a cross on the target with the intersection at the center of the aiming point. Find the center of the group and measure straight across, left or right to the vertical line. Mark this number down. Now measure up or down to the horizontal line and record that number. Don’t guess, use a tape measure. I keep one in my truck at all times so I can’t forget to bring it.
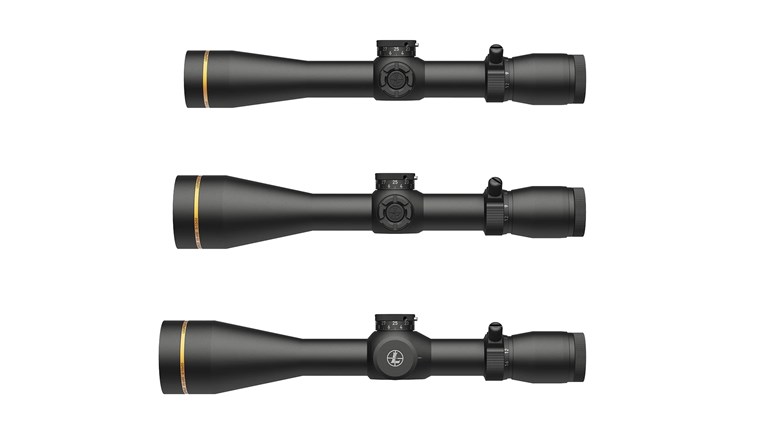
Find out the increments of adjustment for your scope. It should be marked on the adjustment turret or on the dust cap that protects the adjustments.
Most will be ¼ MOA, which for all intents and purposes is one click per ¼ inch at 100 yards. This is important as some scopes have metric designations while others are in Milliradian.
Once you understand the adjustment system, do the math for the number of clicks needed in each direction to cover the distance from the bullet hole to the line you drew. If you have quarter-minute adjustments on your scope, you will need to make 4 clicks for each inch of movement at 100 yards. Now make those adjustments very carefully. Stay focused and be careful, it’s easier than you think to get distracted and mess up.
Fire another three shot group. The center should impact exactly in the center of the target. If not, well now, you just learned the nasty little secret about rifle scopes. They don’t always move the point of impact as promised. It’s a lot less common today than even a decade ago as the scopes are getting better. Also, it’s a lot more common in an inexpensive scope. Sometimes the internal adjustment mechanism will stick and the recoil from the first shot can jar it into moving so that the next shot is in the right place. That will result in one shot being out of the group. But, don’t worry it’s likely the first shot.
So, if you are not zeroed, repeat the process until you are.
I always like to shoot a few more groups just to prove the zero and to get a little practice with the gun before hunting.
Let the rifle cool off before firing your final group to see if there is a point of impact change from a hot barrel. Remember you will always fire your first shot at big game from a cold barrel. Make certain that you adjust your final point of impact from the same cold barrel.


